RingCentral Quick Start Guides
Joining a Meeting
Select the type of device you’ll be using to connect to the RingCentral meeting for a device-specific quick start guide:
Installing the RingCentral MVP mobile app
Installing the RingCentral Desktop app and Outlook add-in
Select this option if you access your email and calendar via a web browser like Microsoft Edge or Google Chrome.
Select this option if you access your email and calendar using the Outlook 365 app.
Hosting and Scheduling RingCentral Meetings
Select this option if you access your email and calendar via a web browser like Microsoft Edge or Google Chrome.
Select this option if you access your email and calendar using the Outlook 365 app.
Joining from a Desktop/Laptop Computer
(without the RingCentral app):
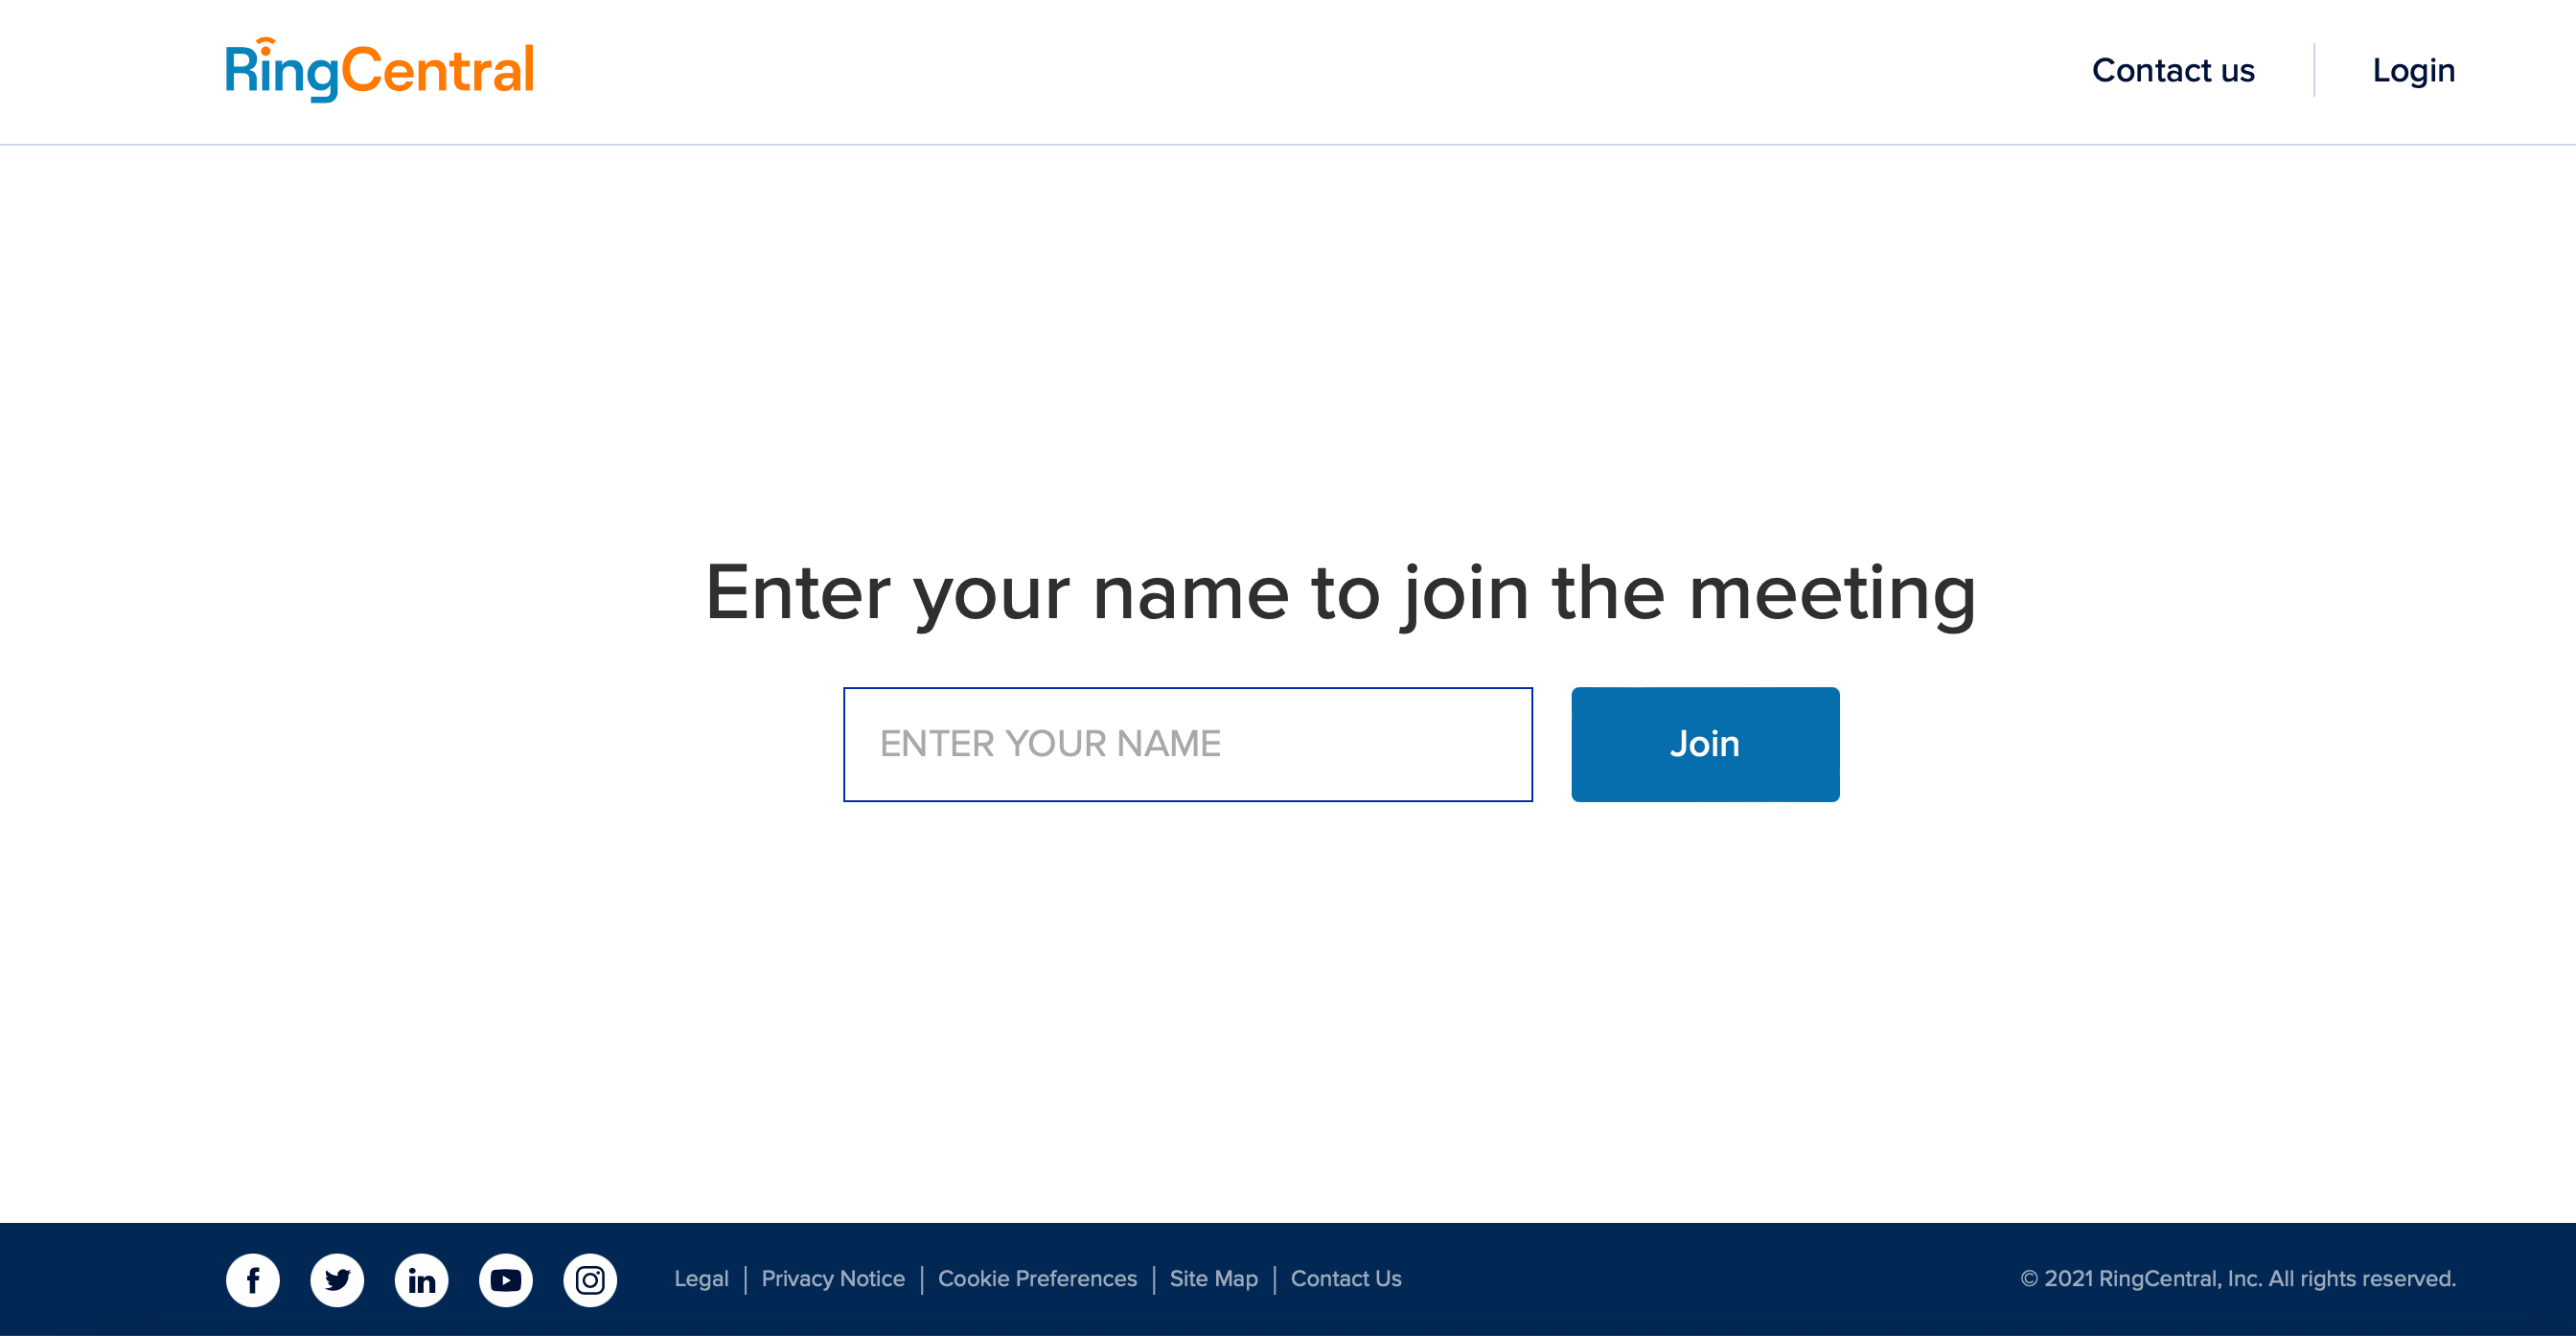
- Access the meeting link (from TAGforAgents.com or your Outlook calendar) using either Google Chrome or Microsoft Edge
- Enter your name and click the “Join” button
-
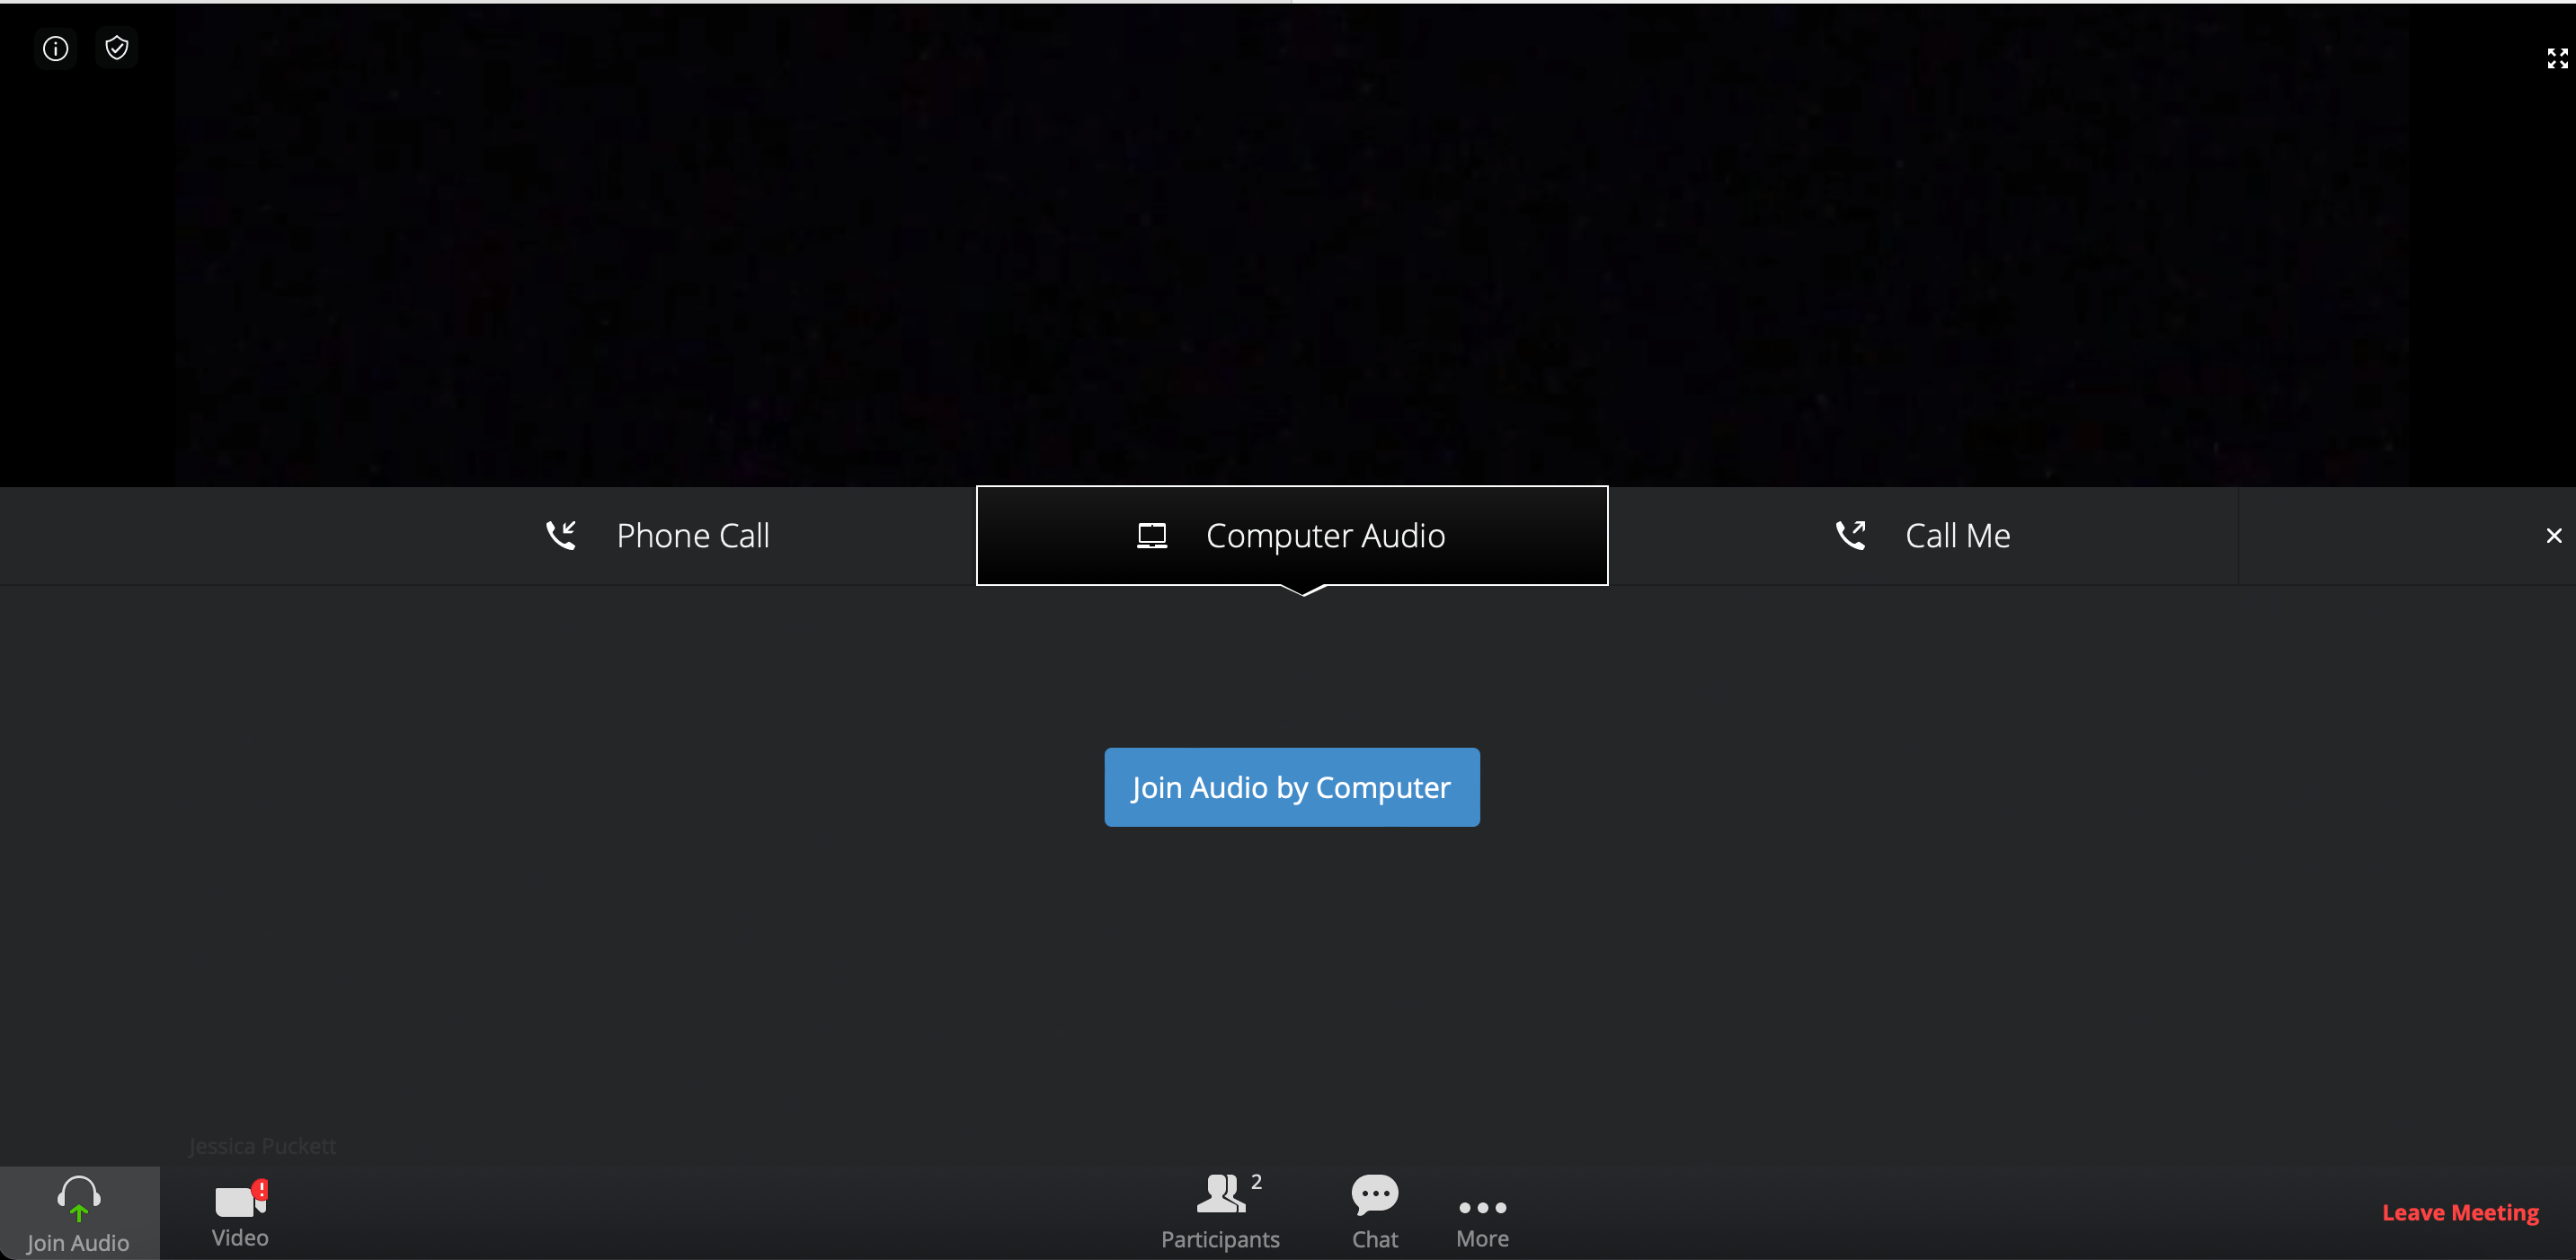
Make your audio device selection and proceed to the meeting
-
Audio and video can be muted/unmuted from the toolbar at the bottom of the screen
Joining from a Desktop/Laptop Computer
(with the RingCentral app):
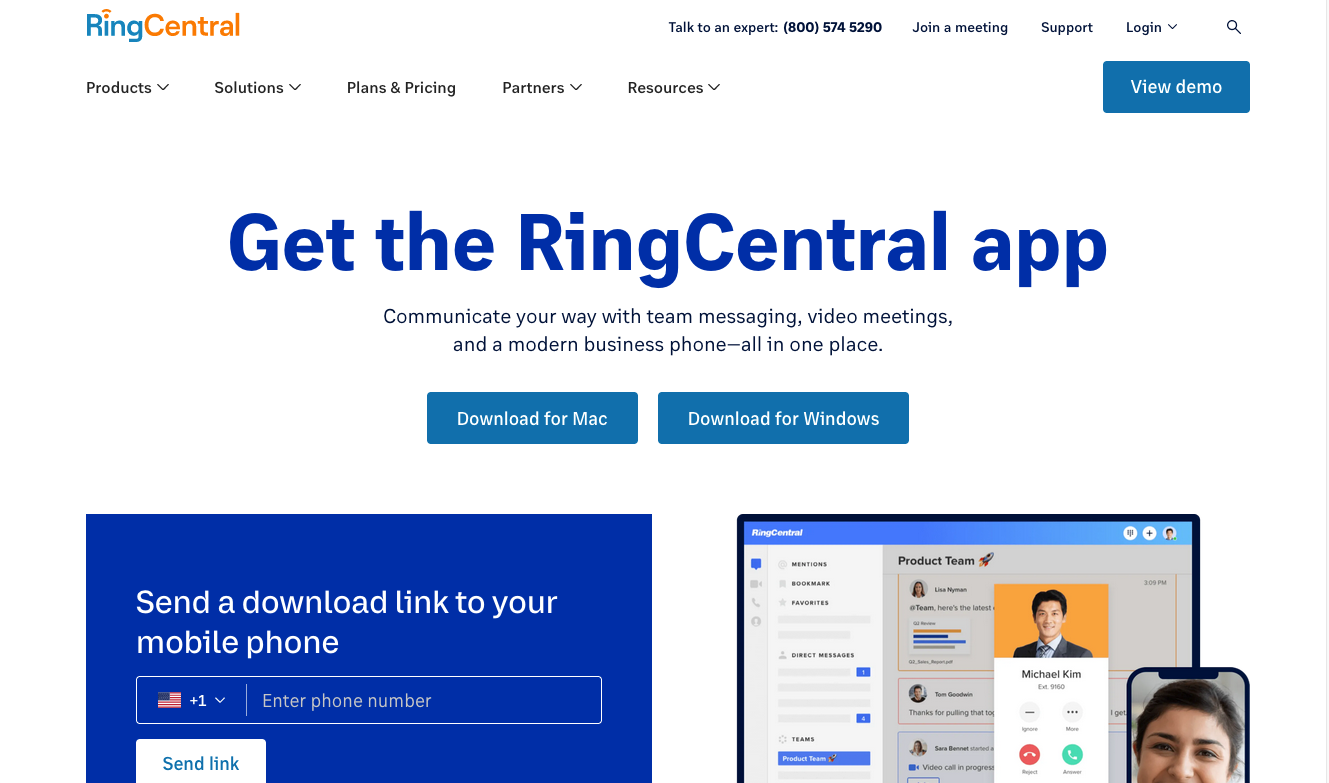
- Download the RingCentral app from https://www.ringcentral.com/download.html and install the app on your computer
- Click the meeting link (from TAGforAgents.com or your Outlook calendar)
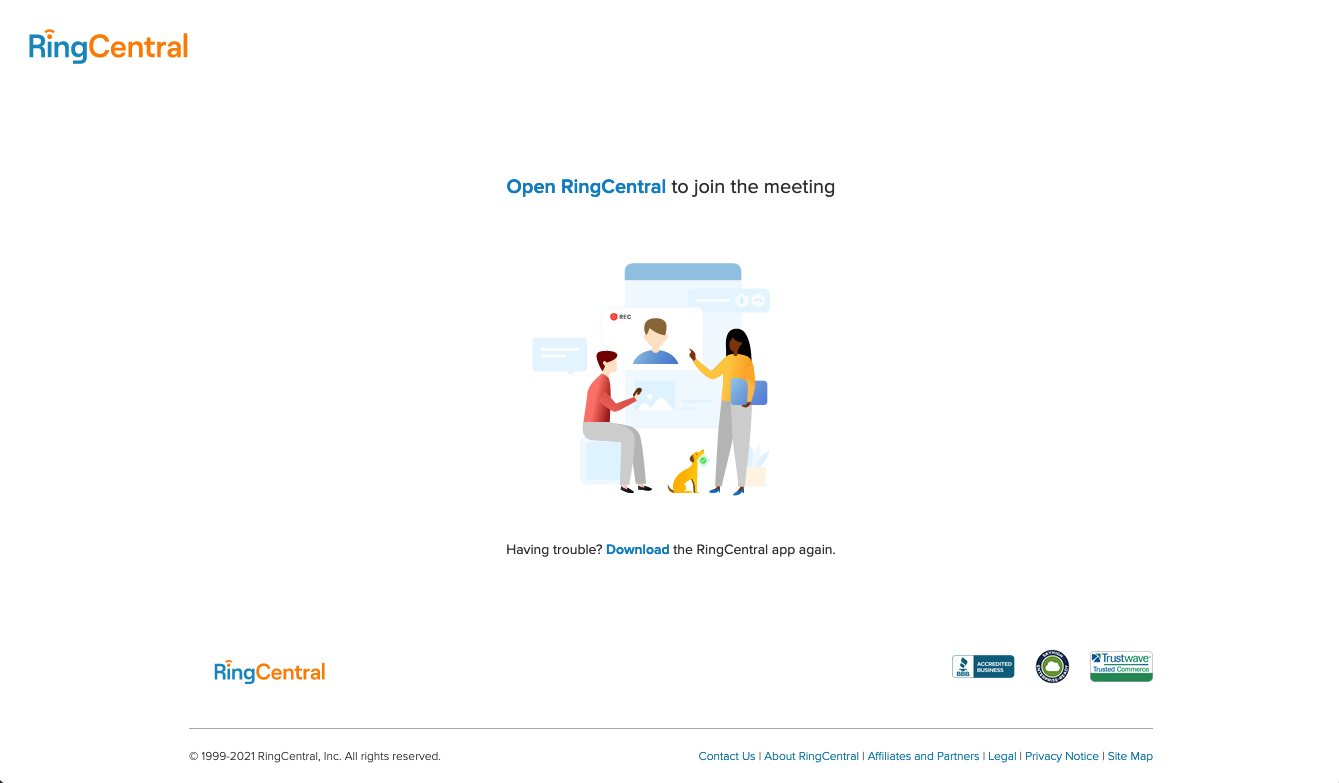
- Click the “Open RingCentral” link in your browser
-
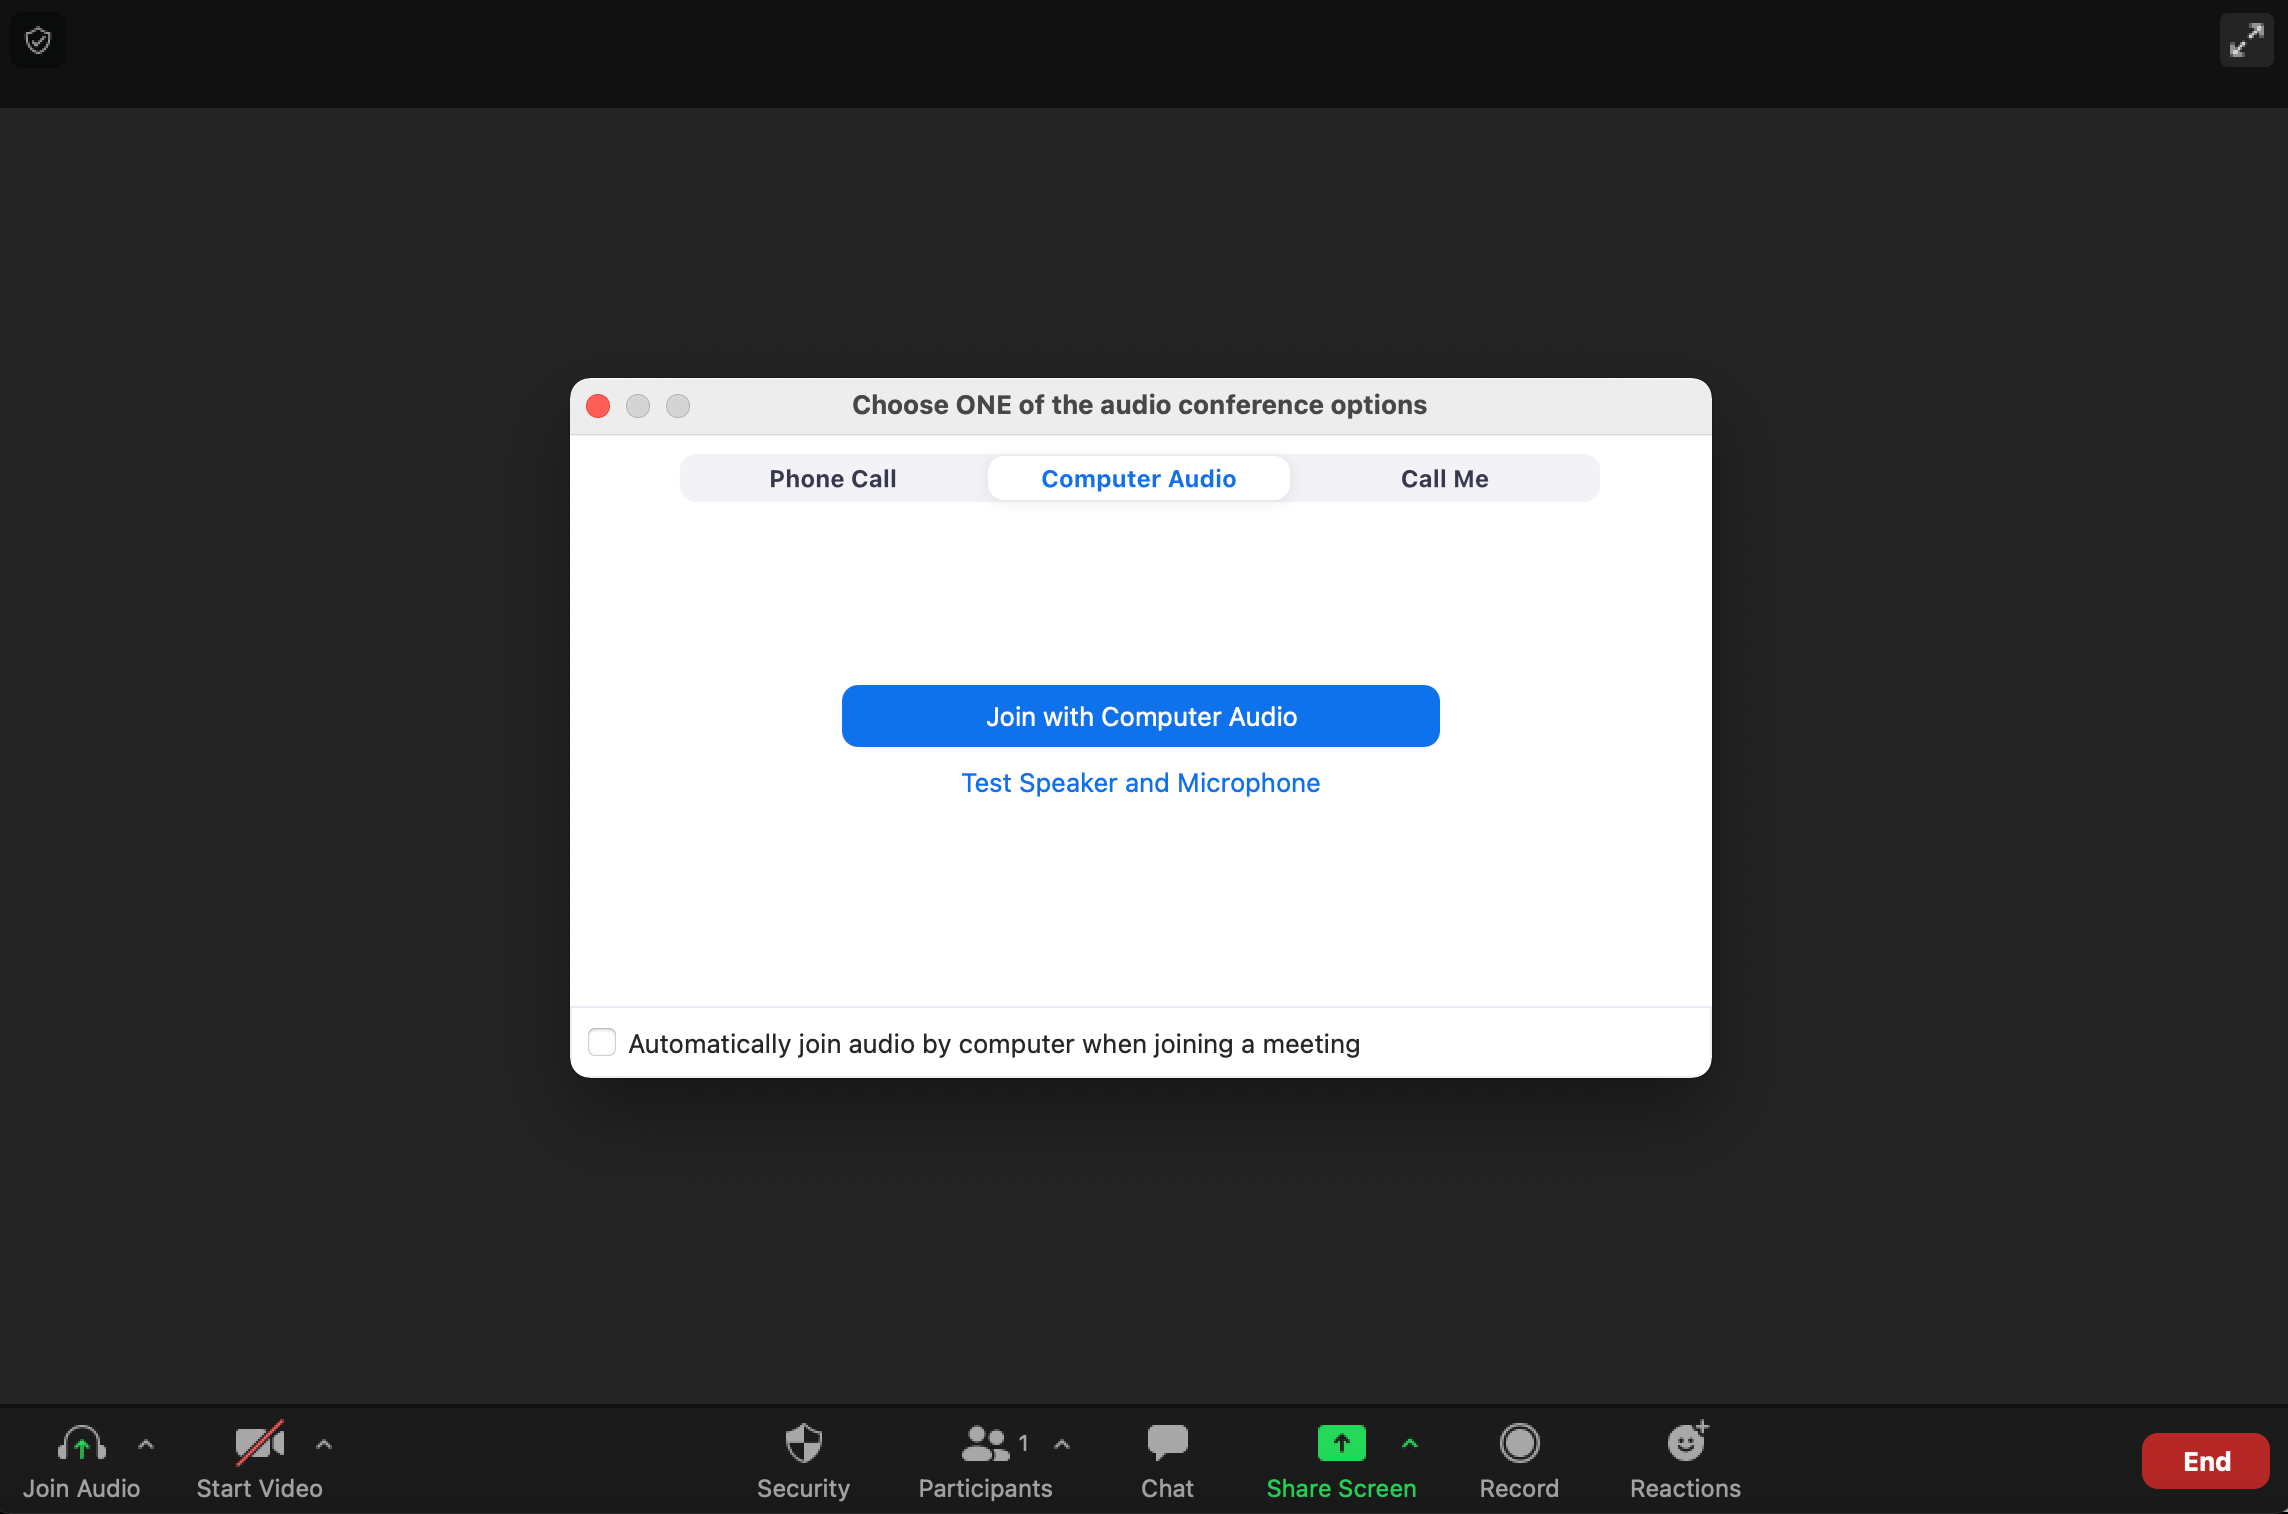
Make your audio device selection and proceed to the meeting
-
Audio and video can be muted/unmuted from the toolbar at the bottom of the screen
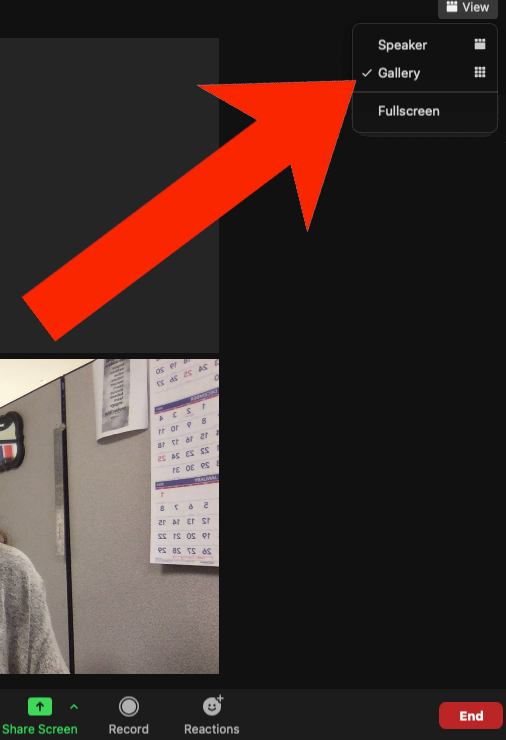
- Select the “View” button in the top-right to toggle between Speaker and Gallery view
Installing the RingCentral app on a Desktop/Laptop Computer:
- Visit https://www.ringcentral.com/download.html to download the RingCentral app on your computer
-
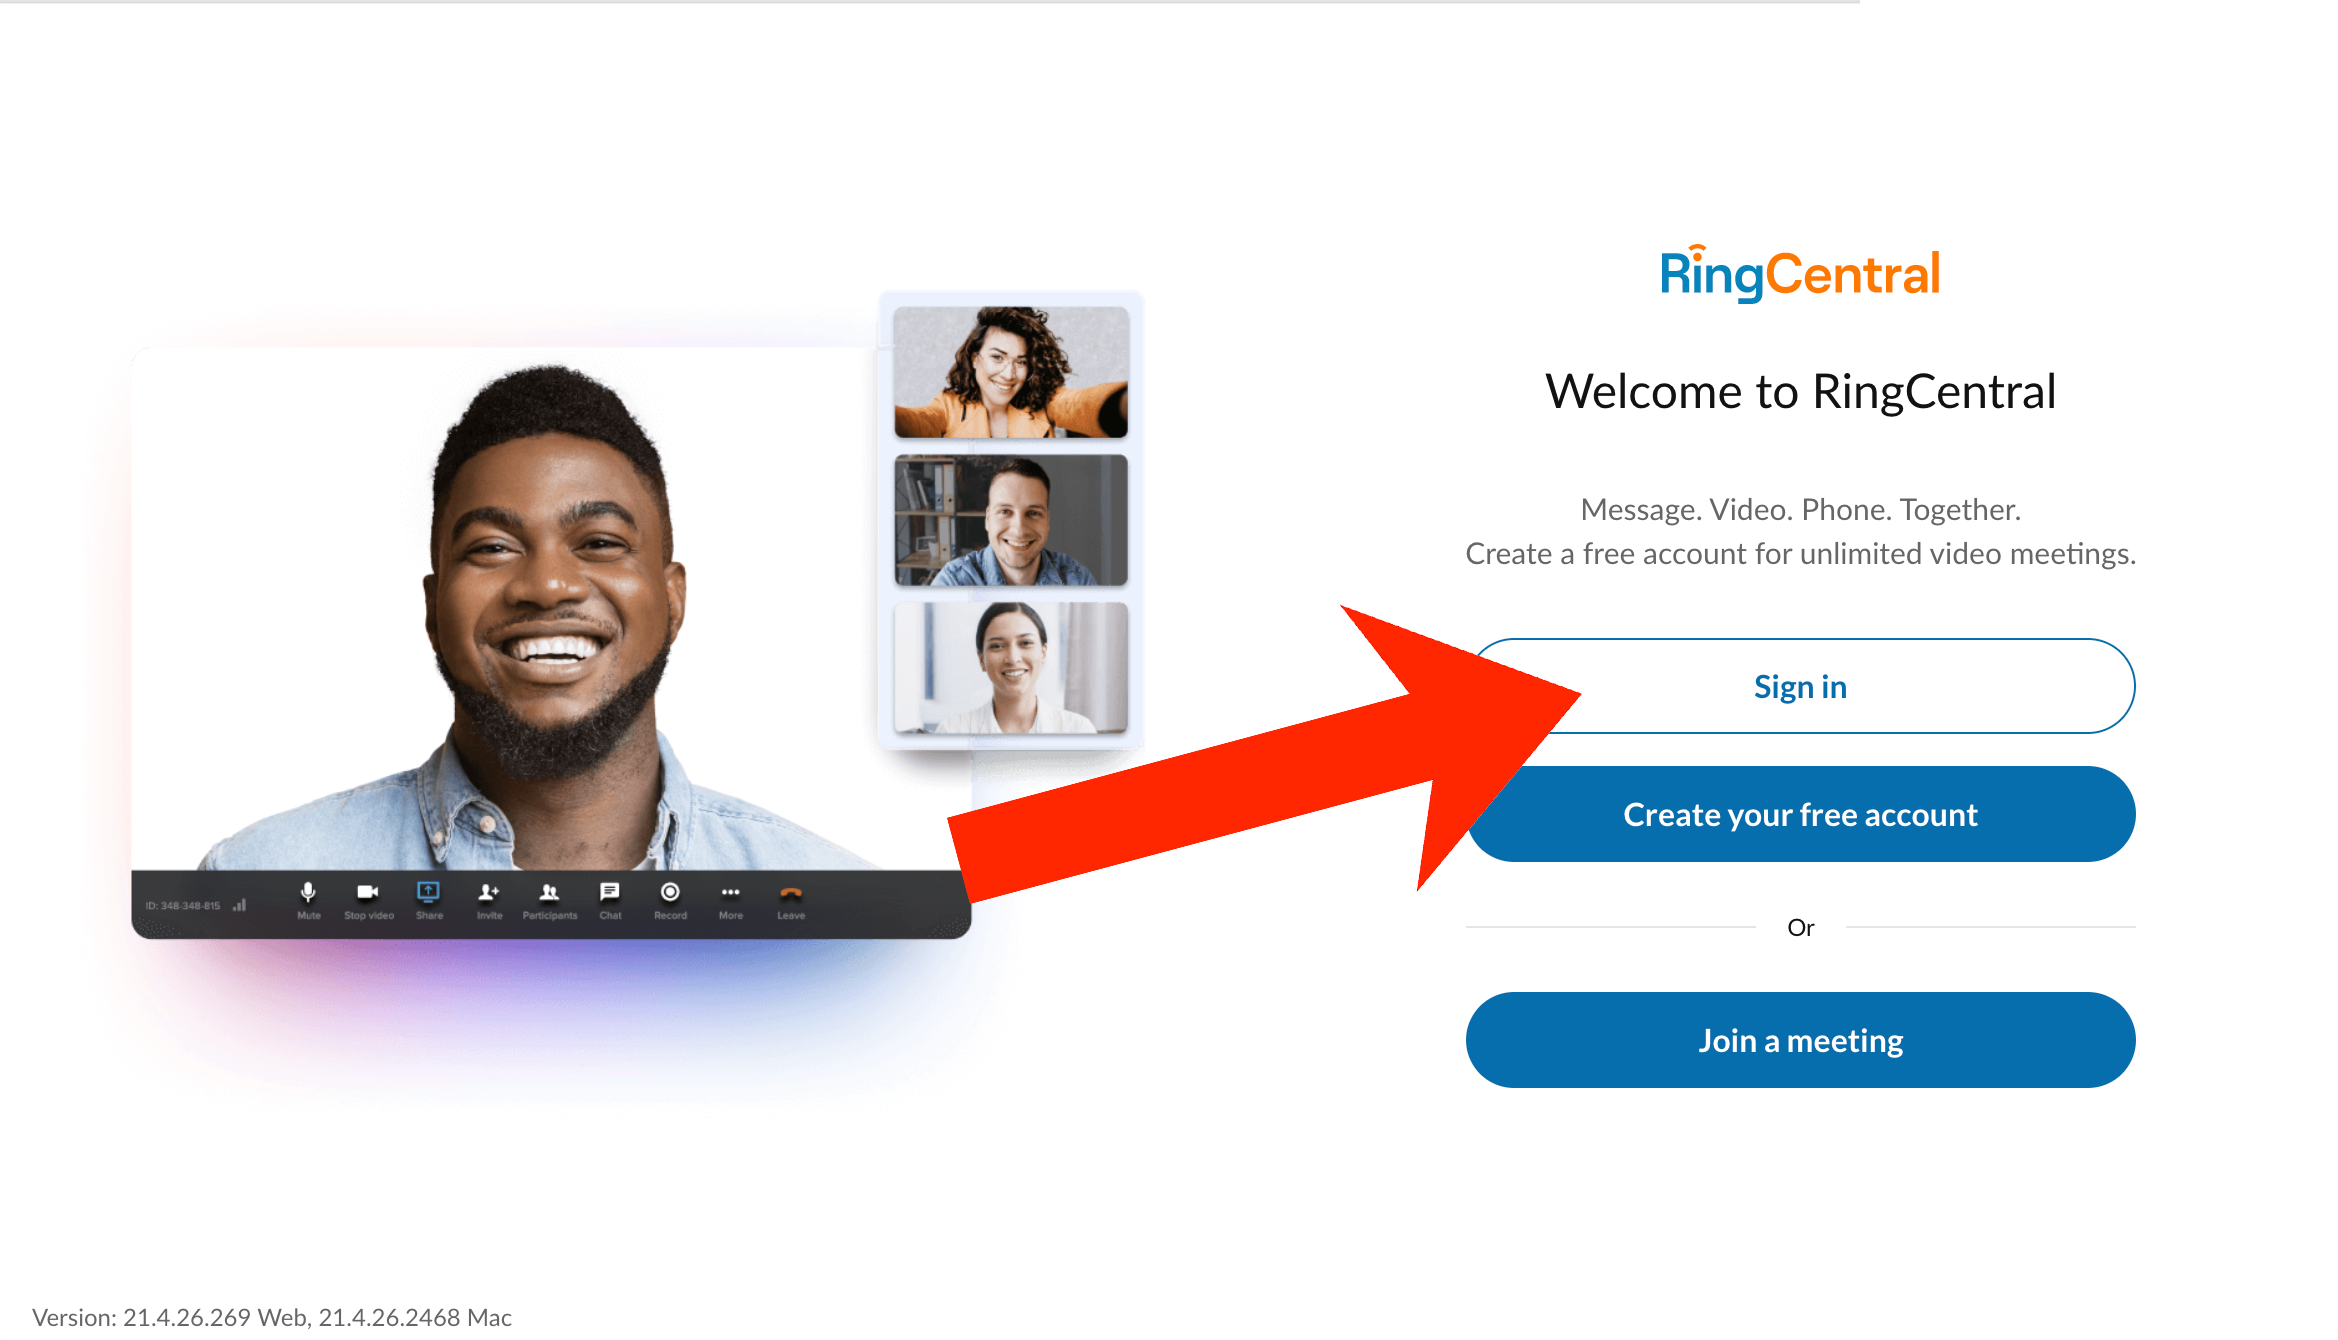
Install the app on your computer and open it. Click “Sign in” to log into your RingCentral account
-
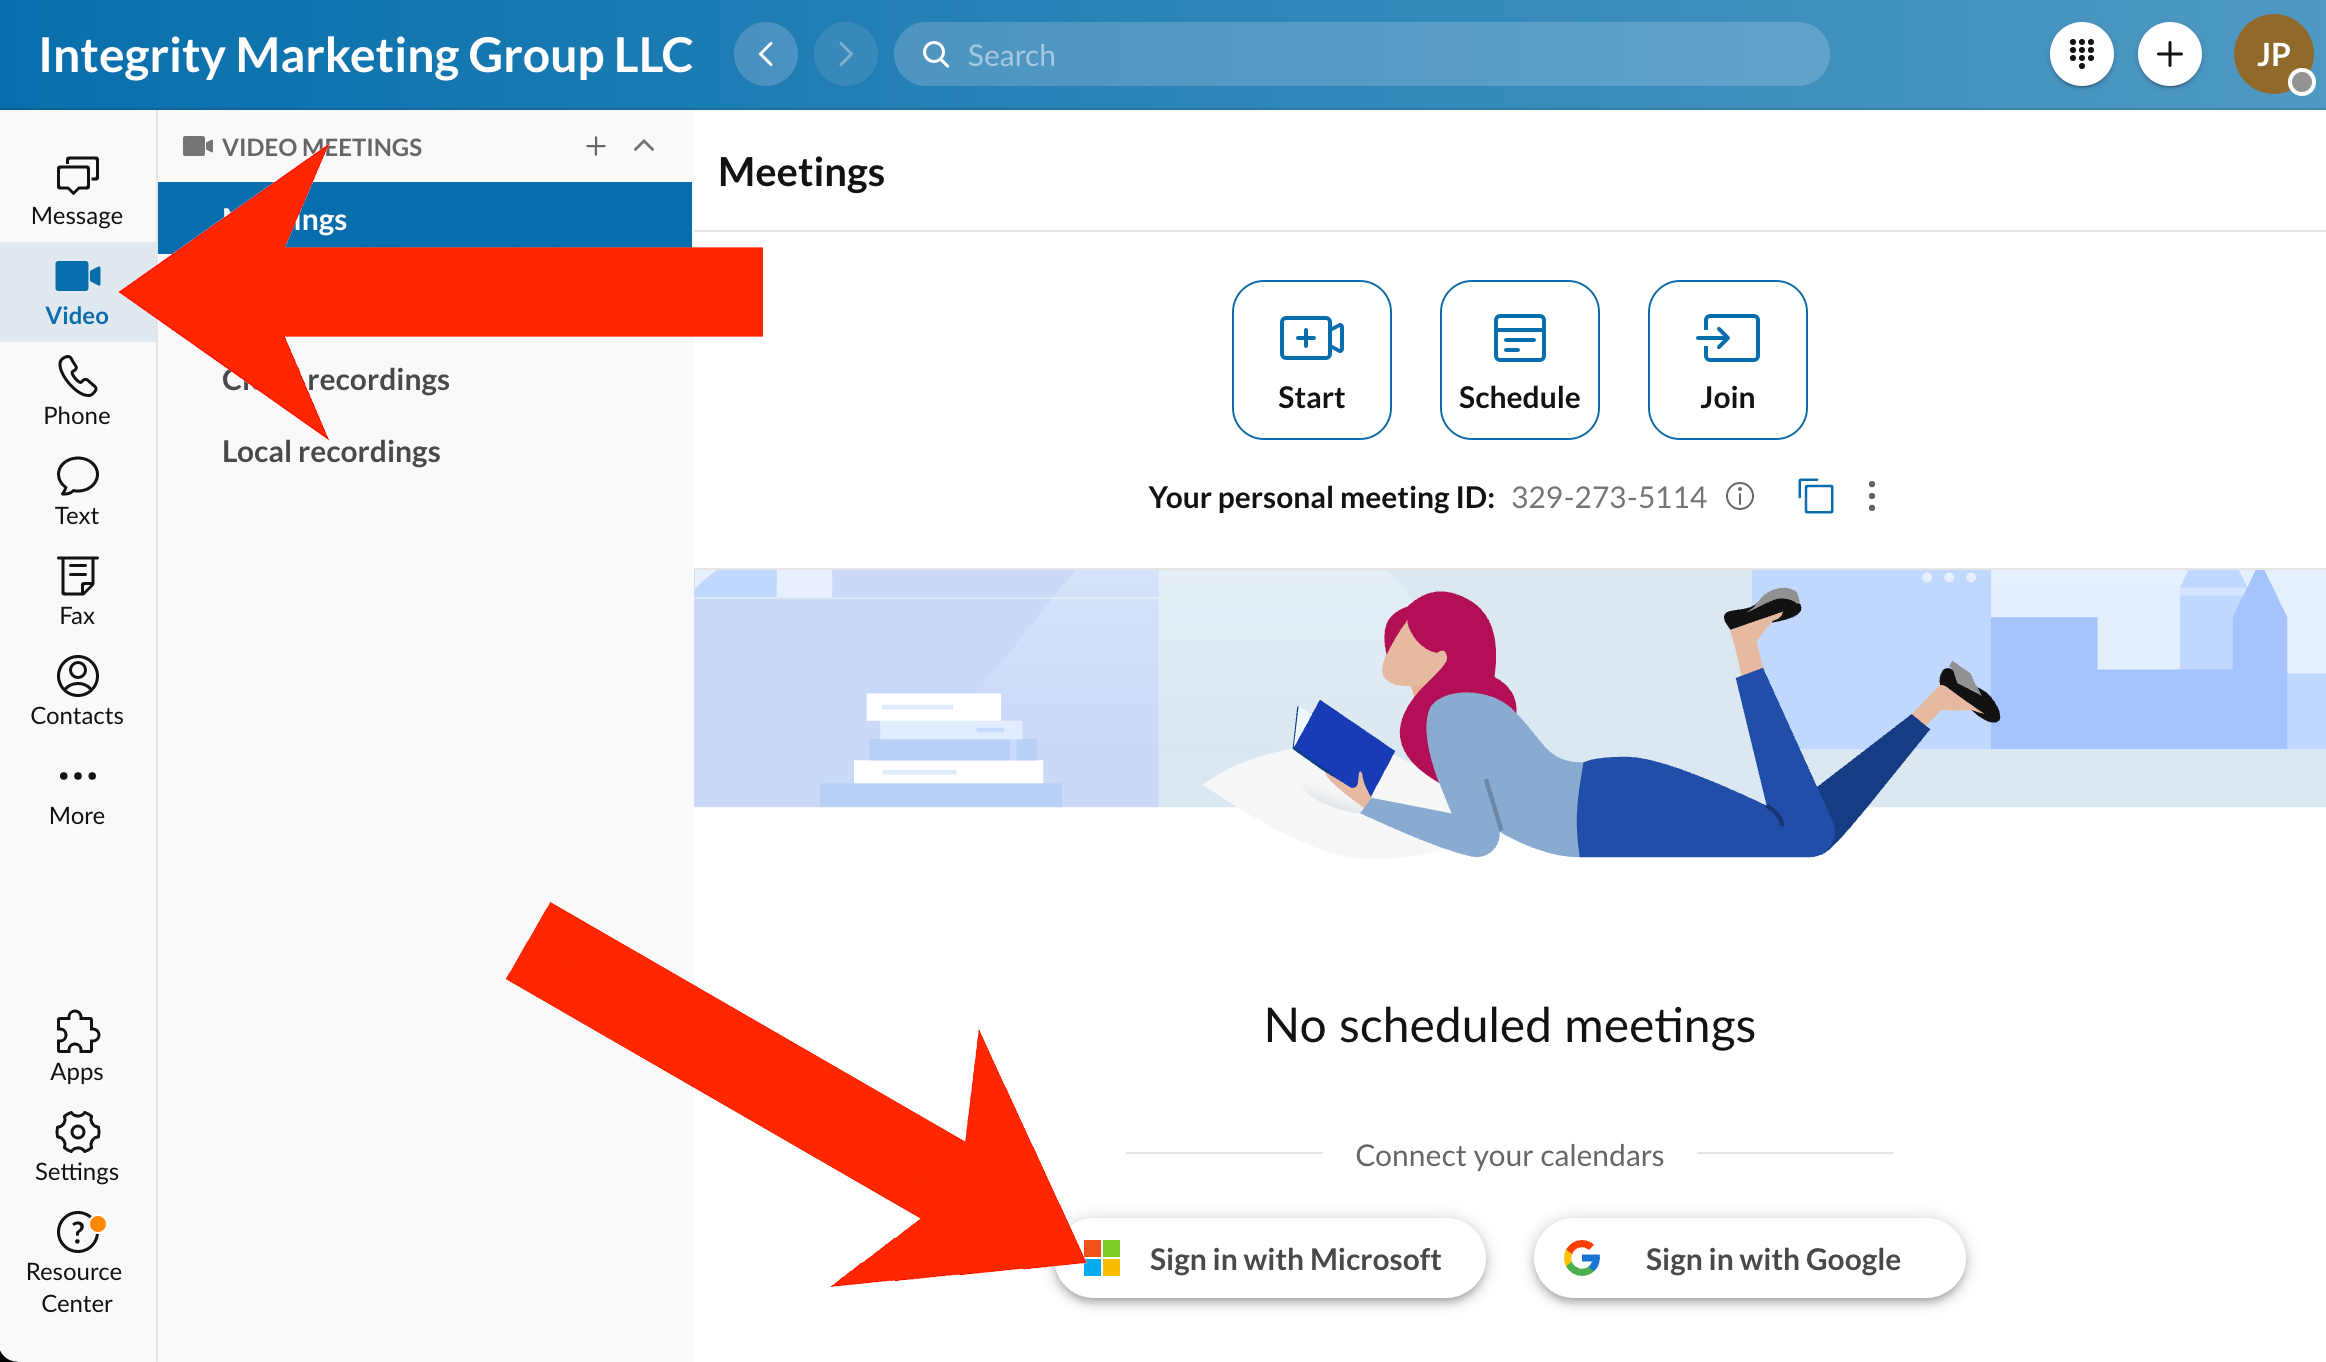
First, link your Outlook calendar to RingCentral. To do this, click “Video” then “Sign in with Microsoft” and log into your assuregrp.com account
-
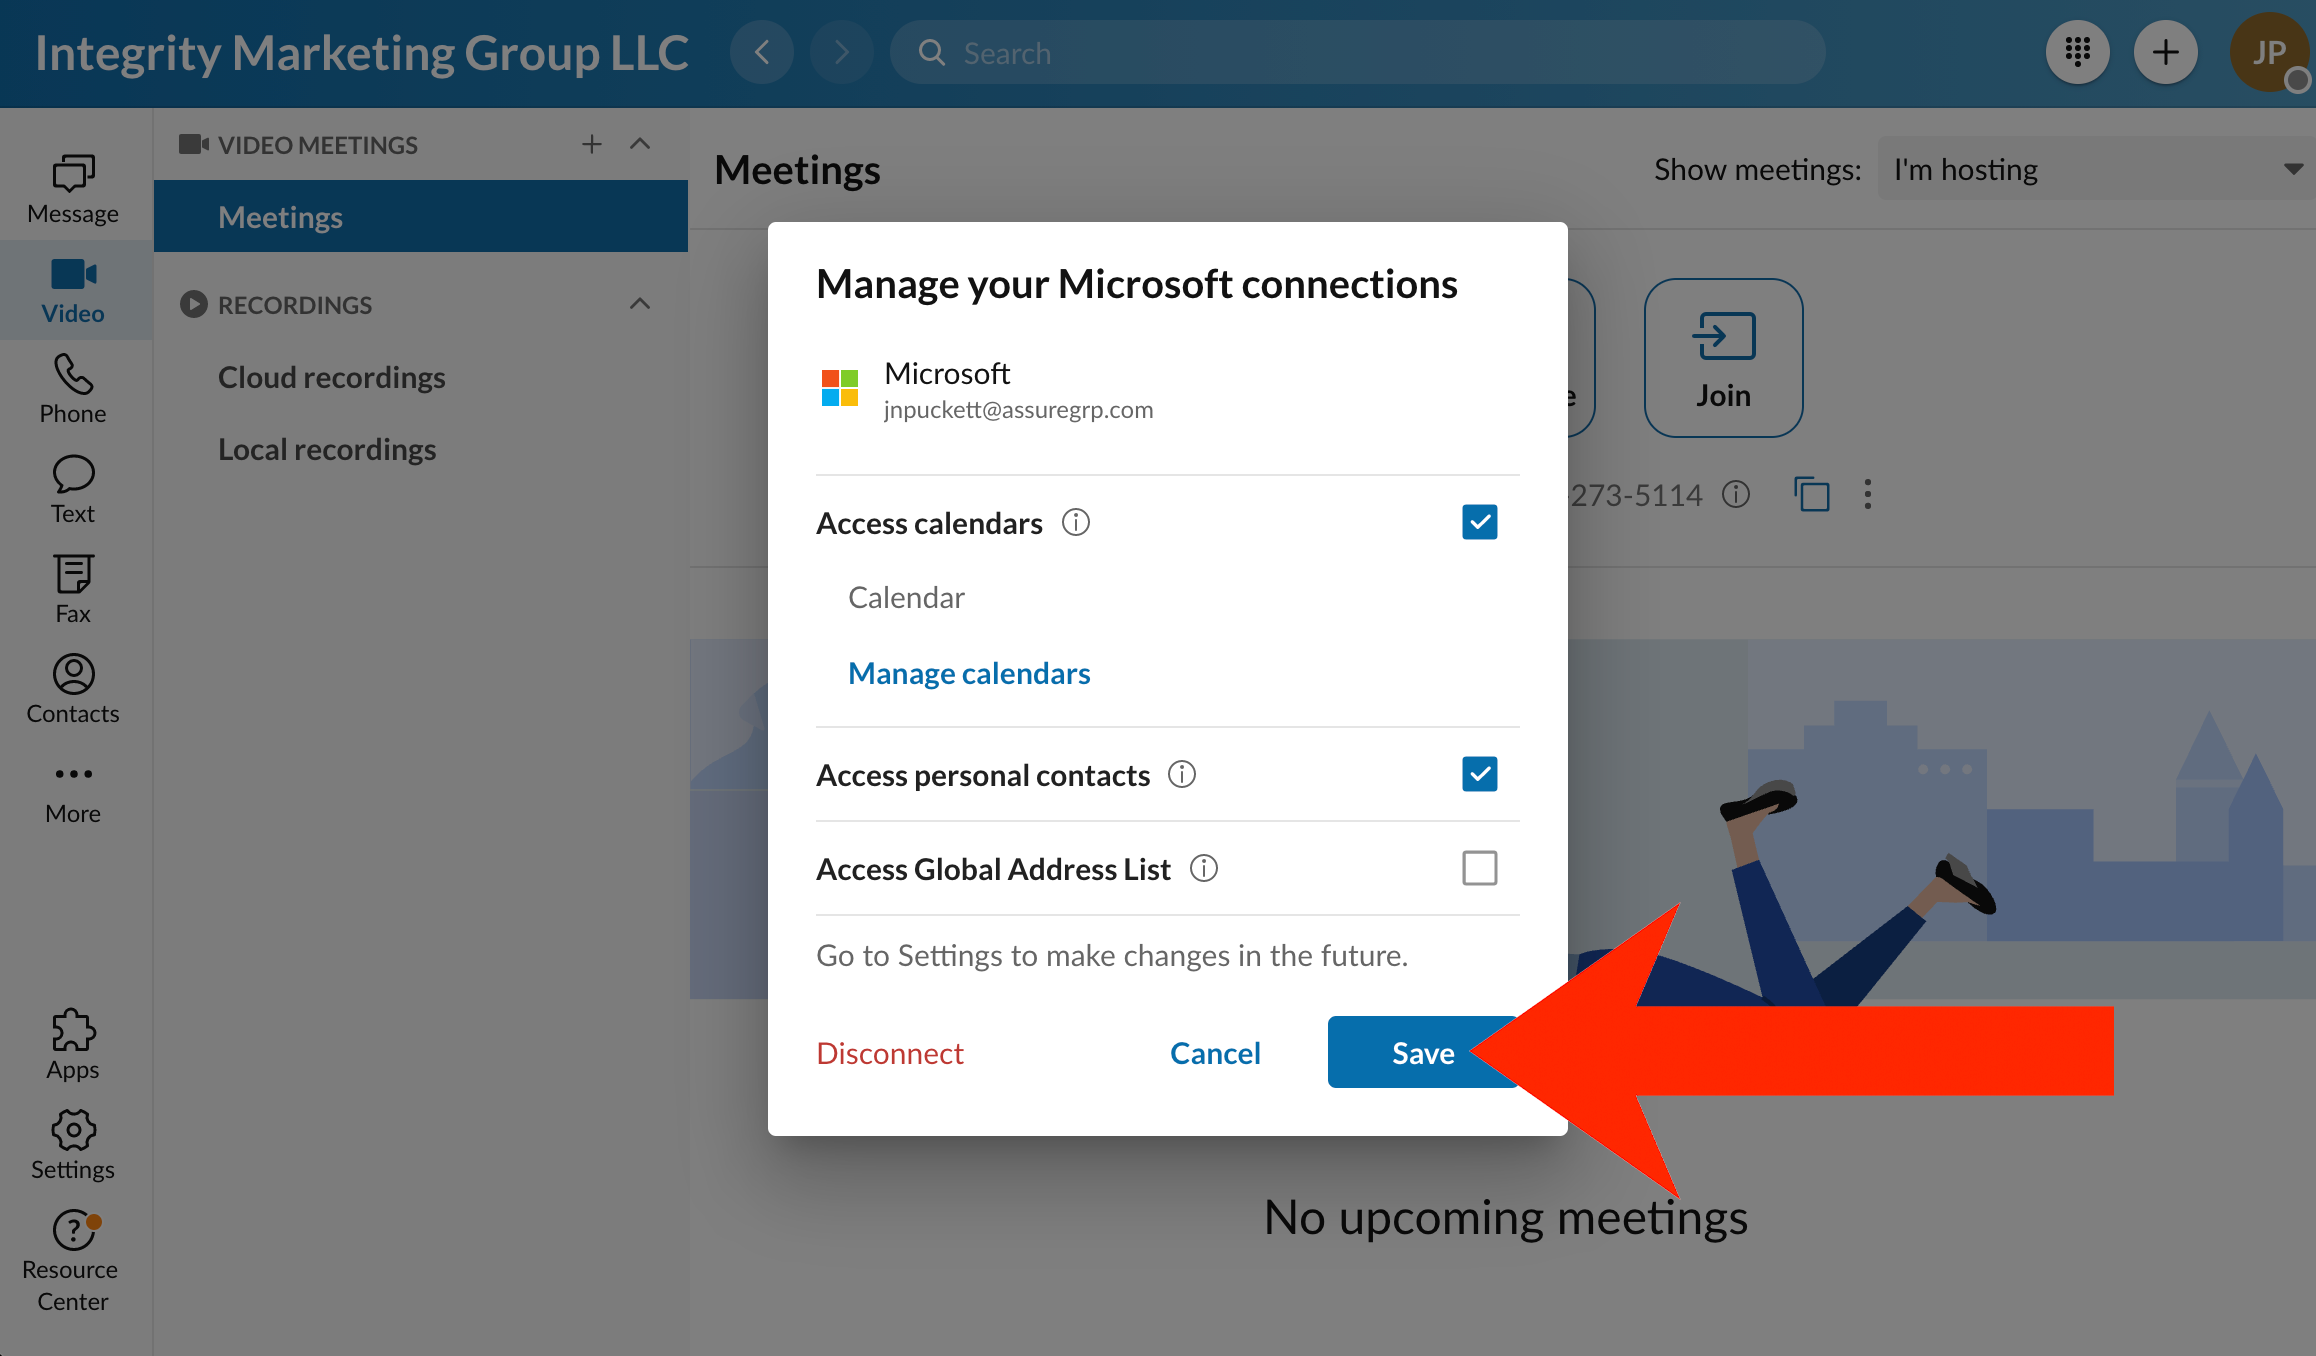
In the “Manage your Microsoft connections” box, add your personal settings and click “Save”
Installing the RingCentral Scheduler in Microsoft Outlook (desktop version):
- From your Outlook screen, click the “Get Add-ins” button
-
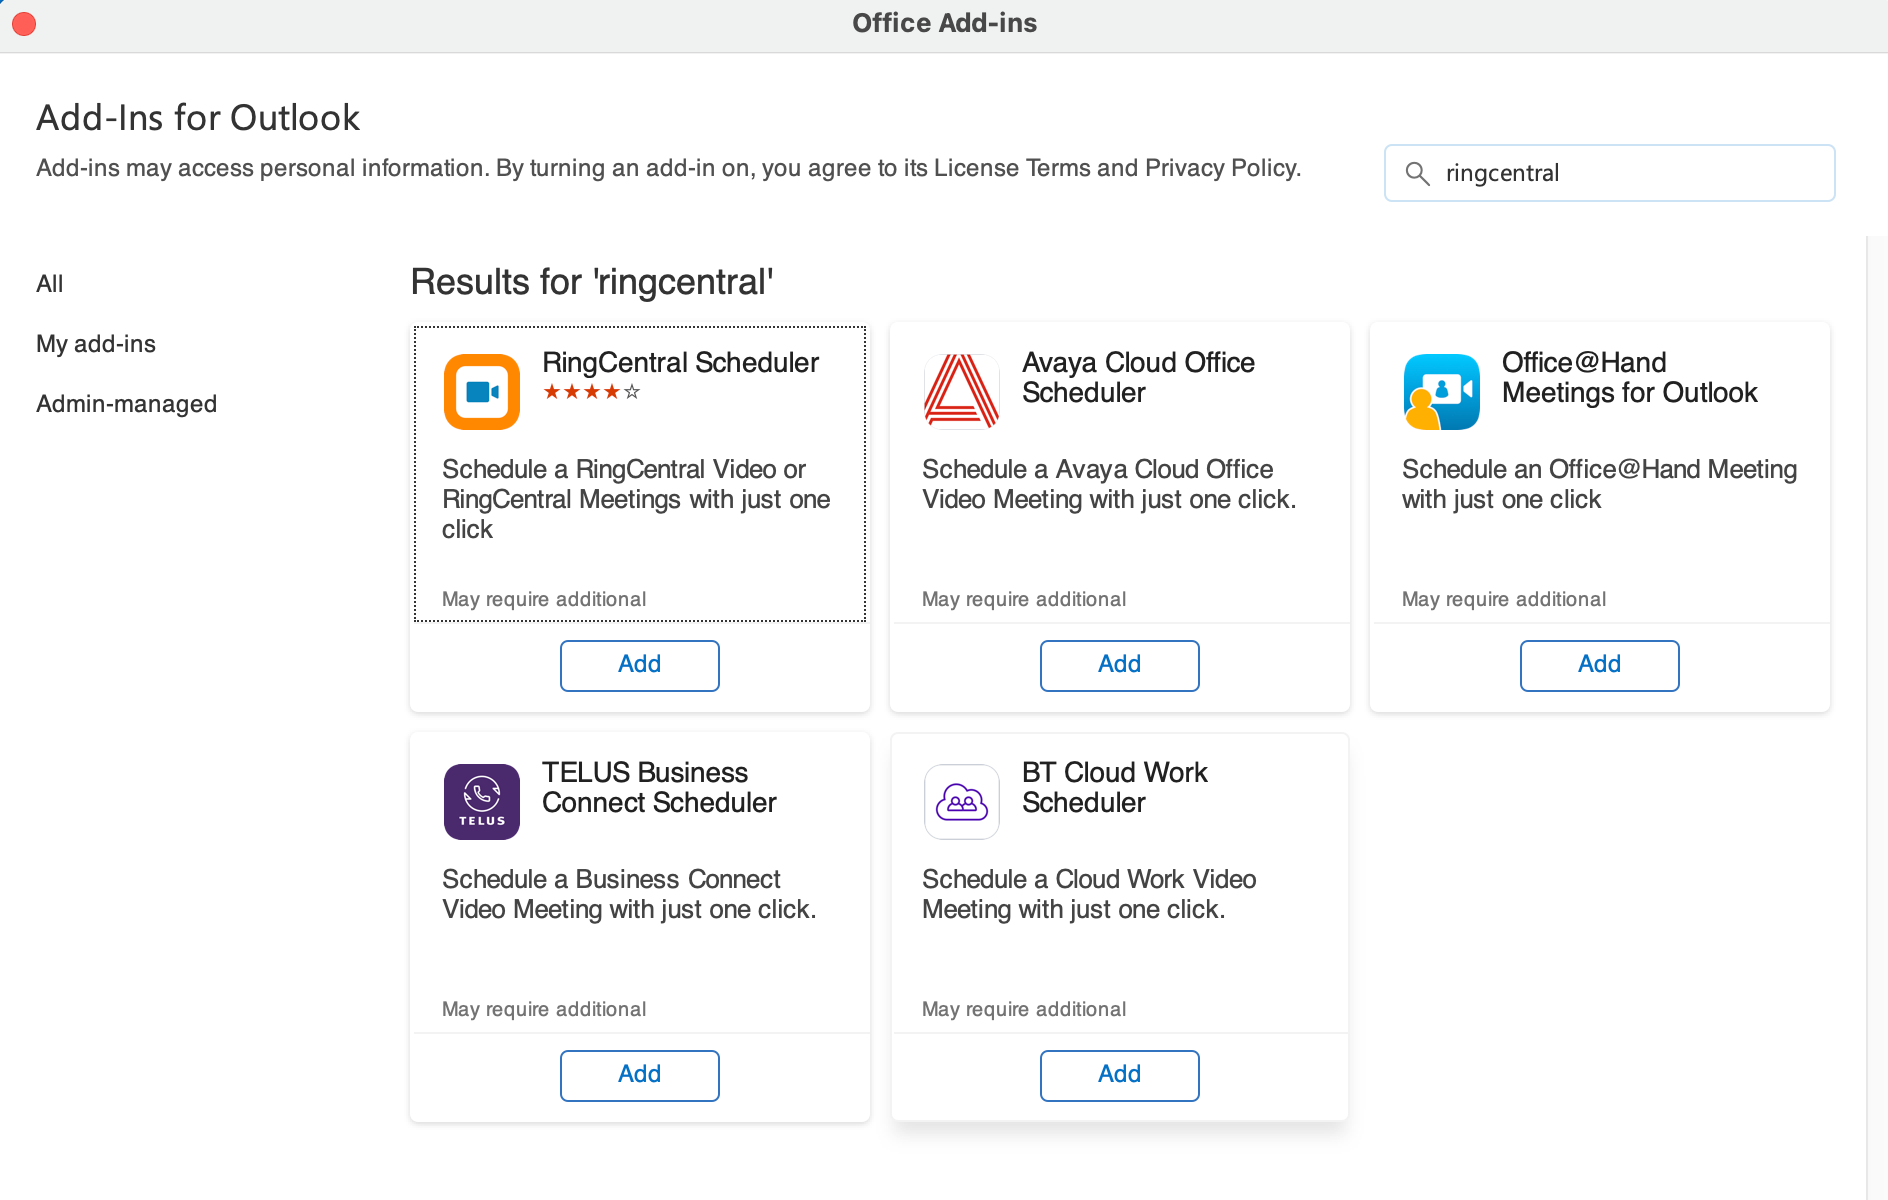
Search “RingCentral” in the search box and click “Add” under RingCentral Scheduler and follow the prompts to install the add-in.
- Once the installation is complete, restart Outlook
- Click here to see how to schedule your RingCentral meeting using the new add-in
Installing the RingCentral Scheduler in Microsoft Outlook (web version):
- Open Outlook in your web browser by visiting http://outlook.office365.com
- From the left-hand sidebar, select the calendar icon to open your calendar
- From the calendar screen, near the top right select the gear icon
-
In the Settings tab, scroll to the bottom and click View all Outlook settings
- In the Settings window, select Calendar
- Click Customize actions
- Check the checkbox next to Get Add-ins
- Click Save
- Go back to your Outlook calendar and click the New Event button
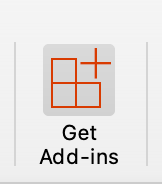
- From the popup window, click the Get Add-ins icon (you may have to click the three dots on the far-right of the toolbar to find this option). The button looks like this:

- In the Add-Ins for Outlook popup box, type RingCentral in the search box
- When the search results display, click the Add button below the RingCentral Scheduler
- Once installed, a popup box will display, which can be closed upon review
- Now that the add-in is installed, click here to see how to schedule your RingCentral meeting
Scheduling a meeting with the Outlook RingCentral Scheduler (desktop version):
- If you haven’t already, install the RingCentral Scheduler add-in
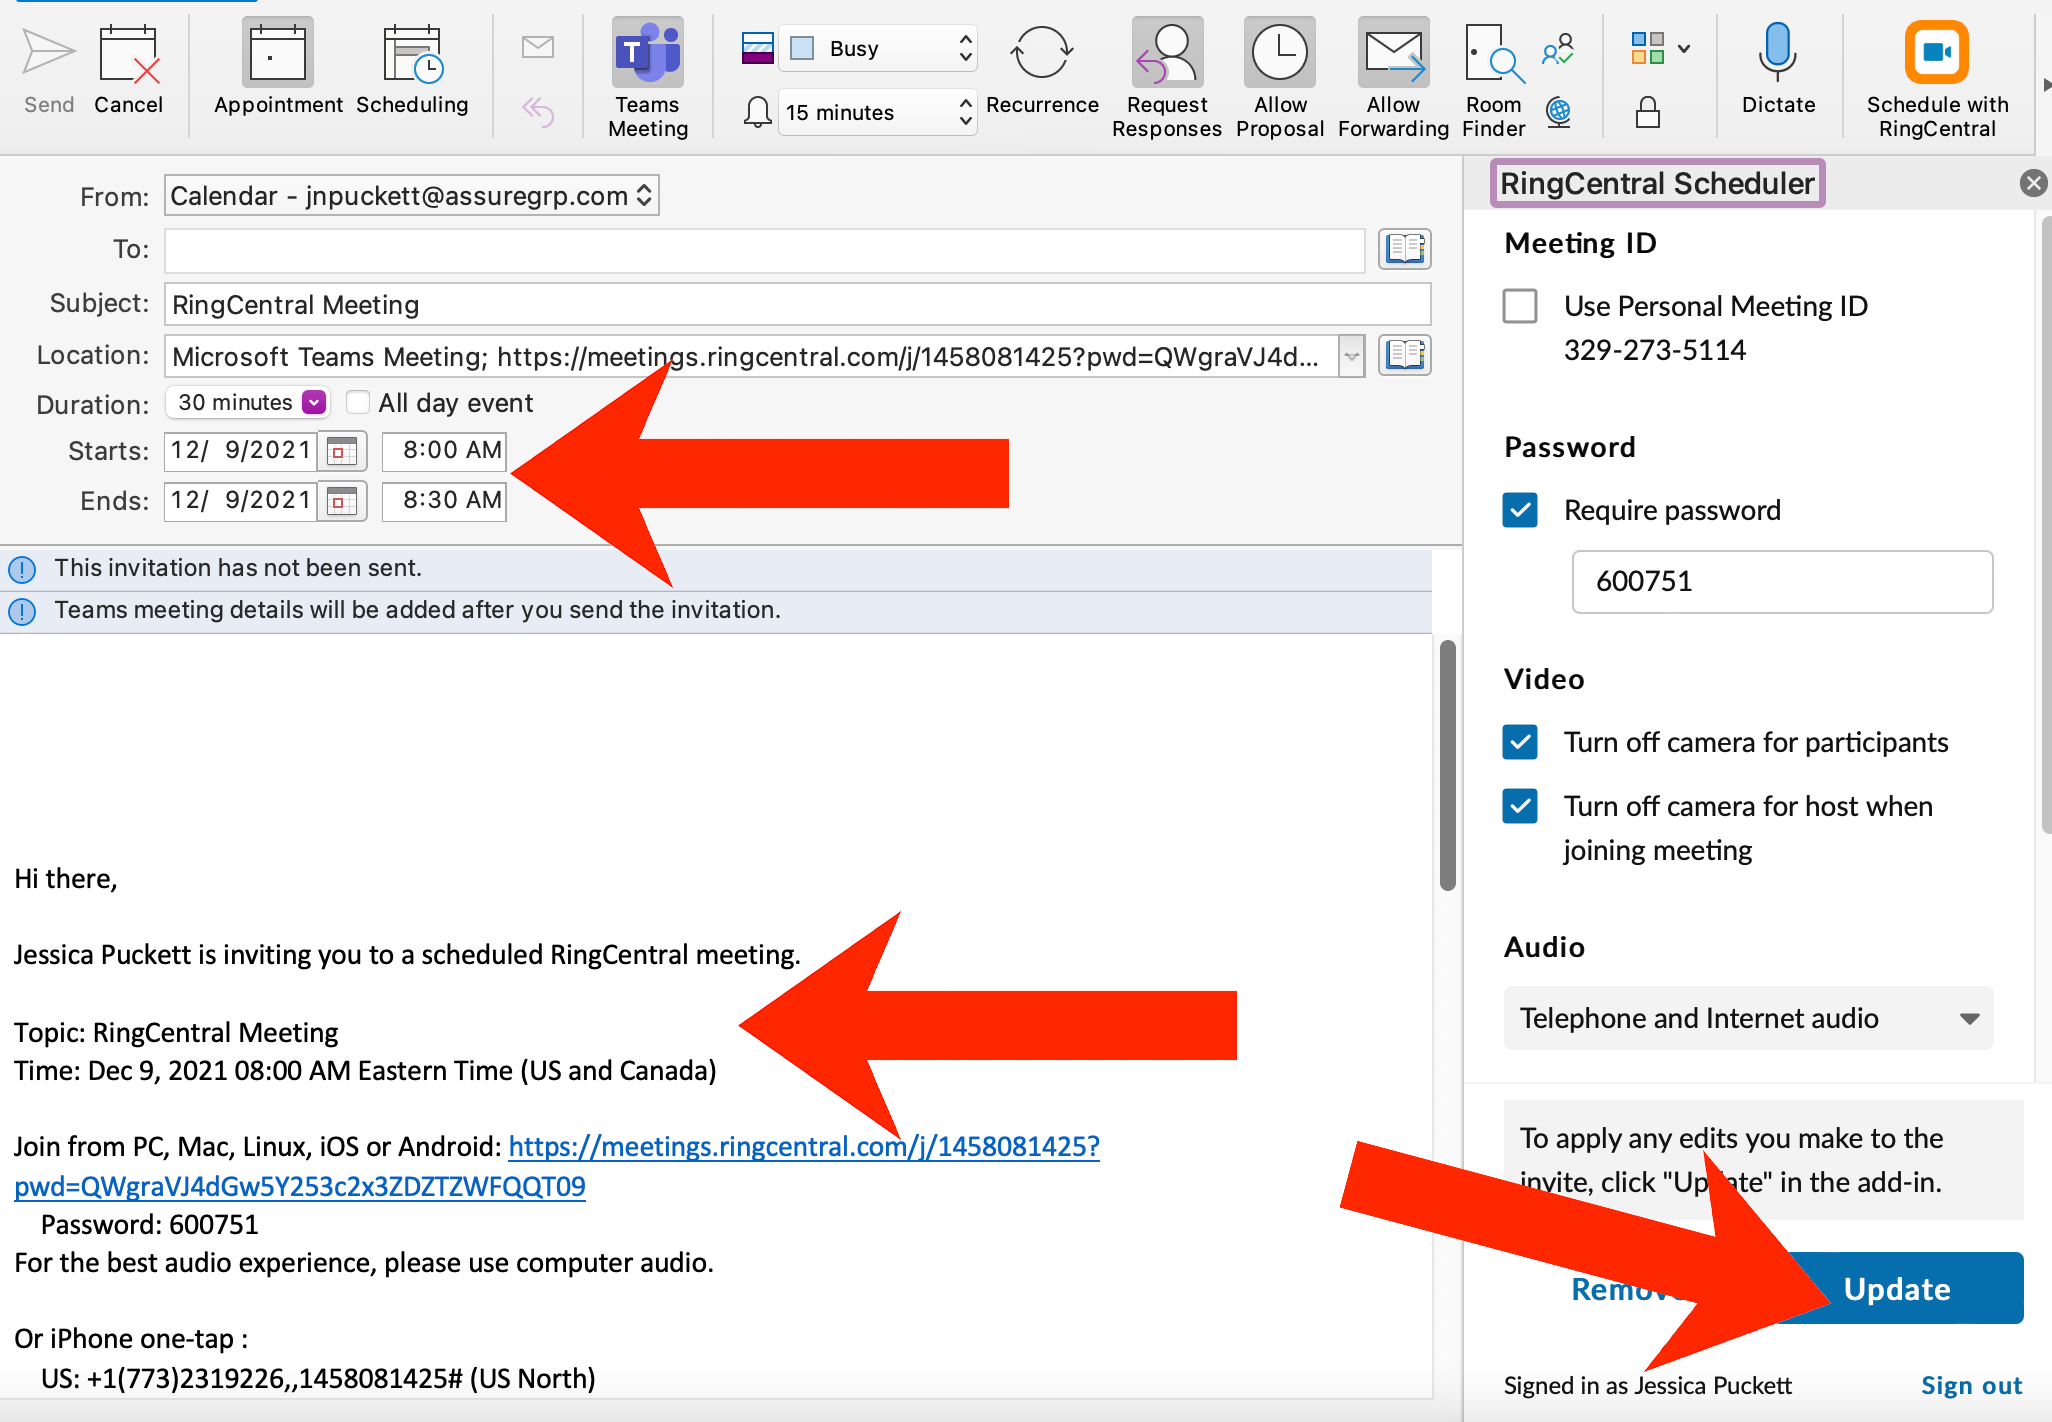
- Open your Outlook Calendar, then click to schedule a Meeting
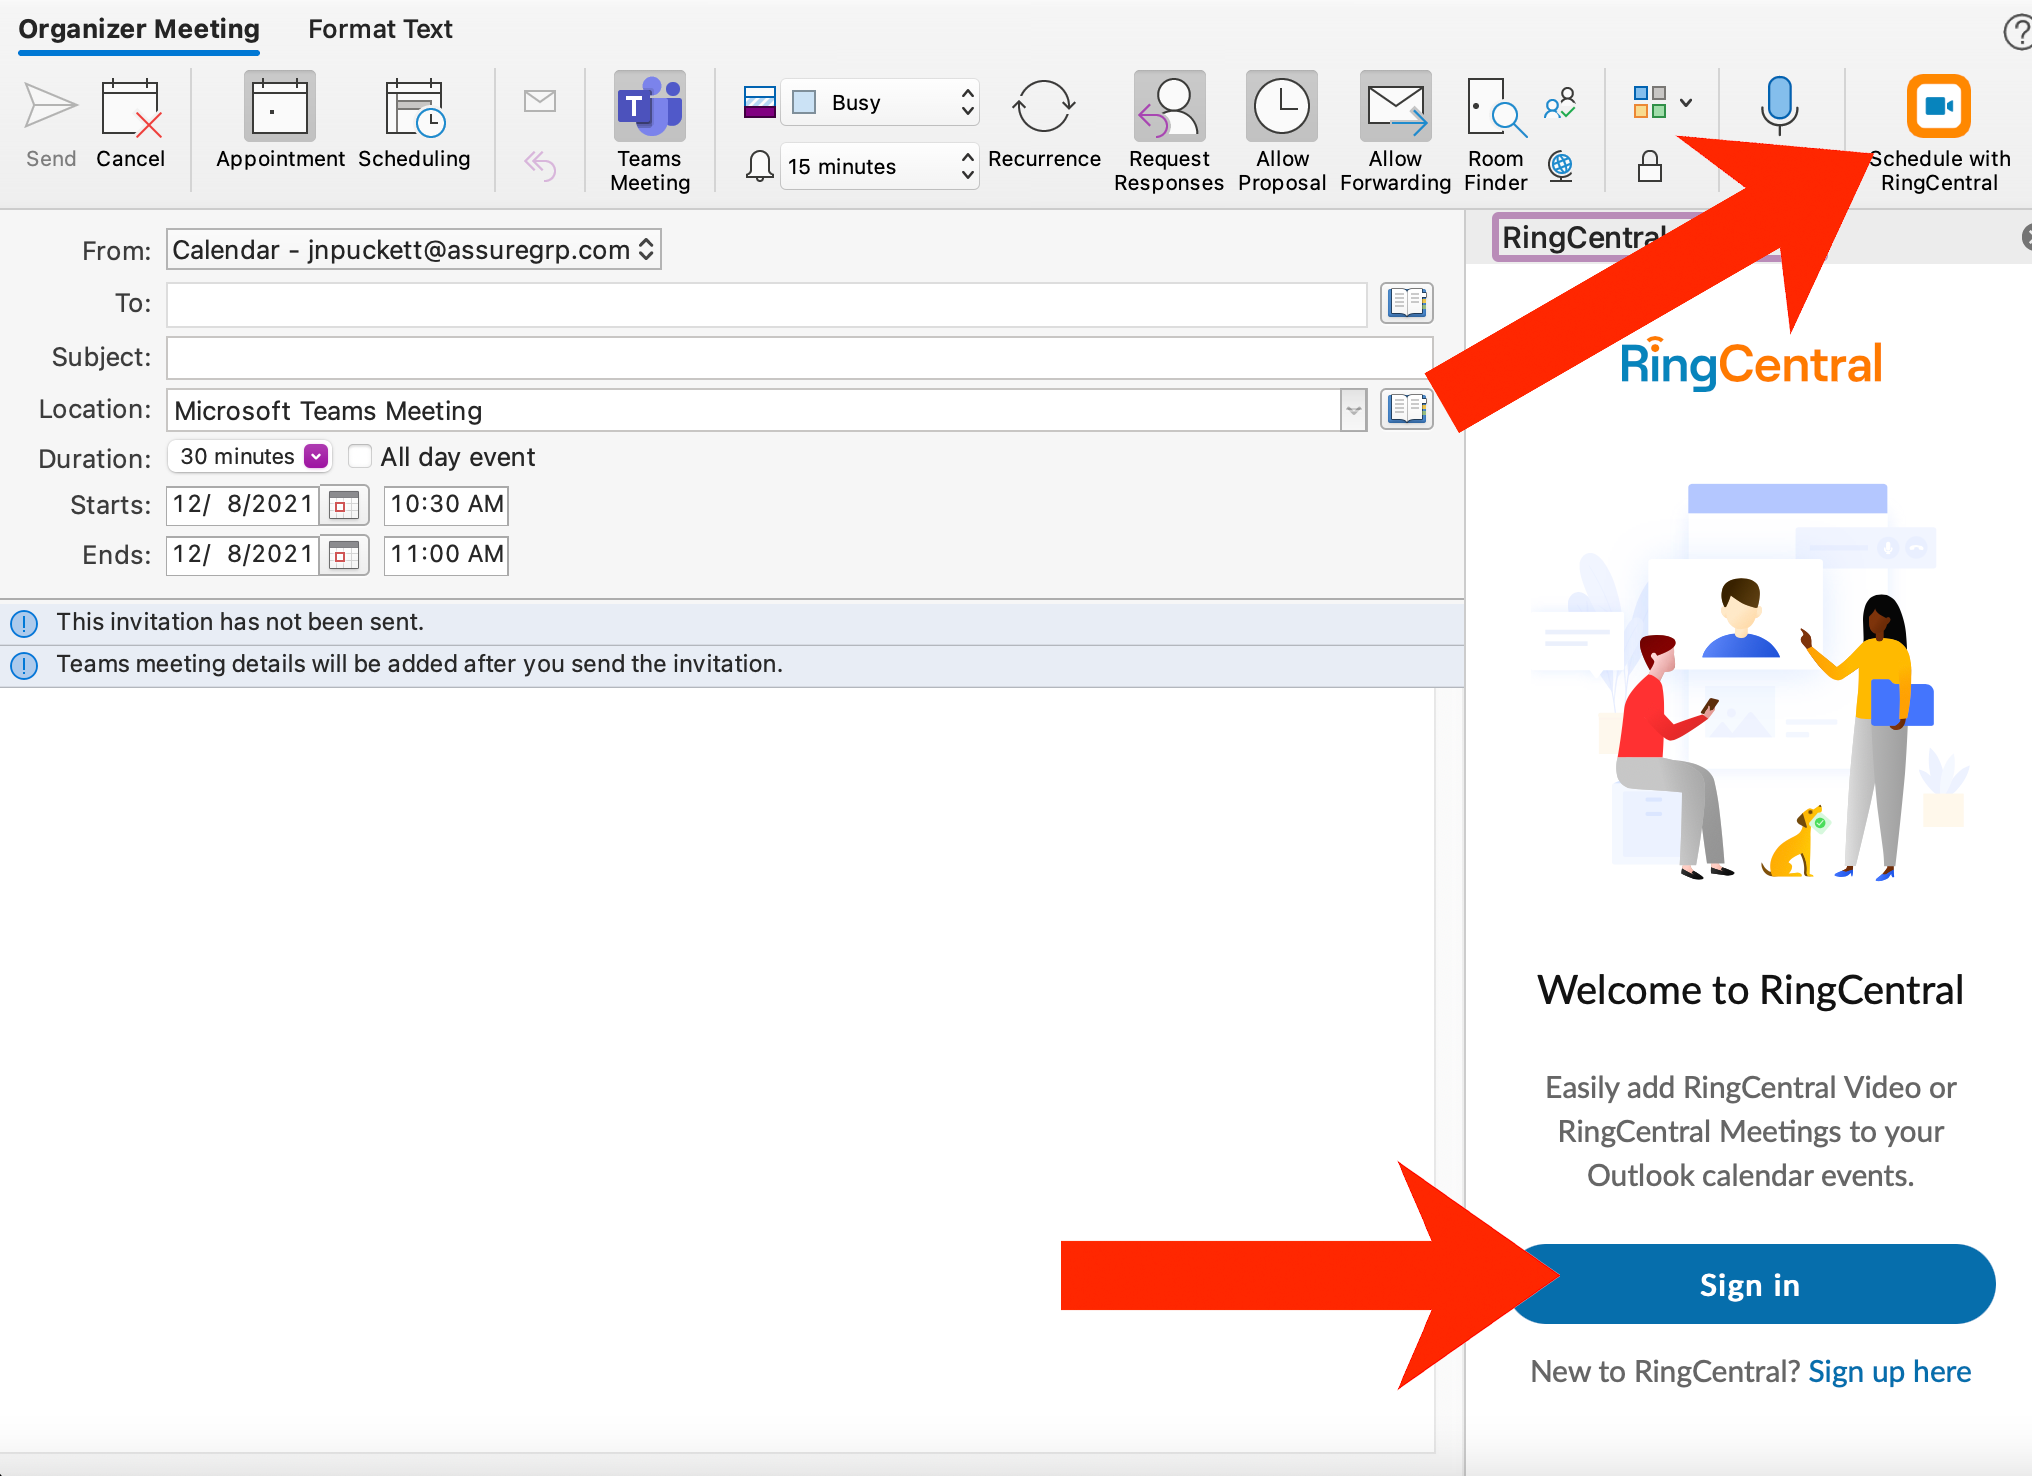
- Click the “Schedule with RingCentral” icon in the toolbar and click “Sign in” in the sidebar
-
Once you’re logged in to RingCentral, the meeting information will populate in your Meeting window. Select the date/time/details for your meeting and click “Update” in the RingCentral sidebar before sending to your meeting recipients.
- Be sure to install the RingCentral app on your computer so you’ll be ready to host the meeting
Scheduling a meeting with the Outlook RingCentral Scheduler (web version):
- If you haven’t already, install the RingCentral Scheduler add-in
- From your web browser, open your Outlook Calendar, then click New event to schedule a Meeting
-
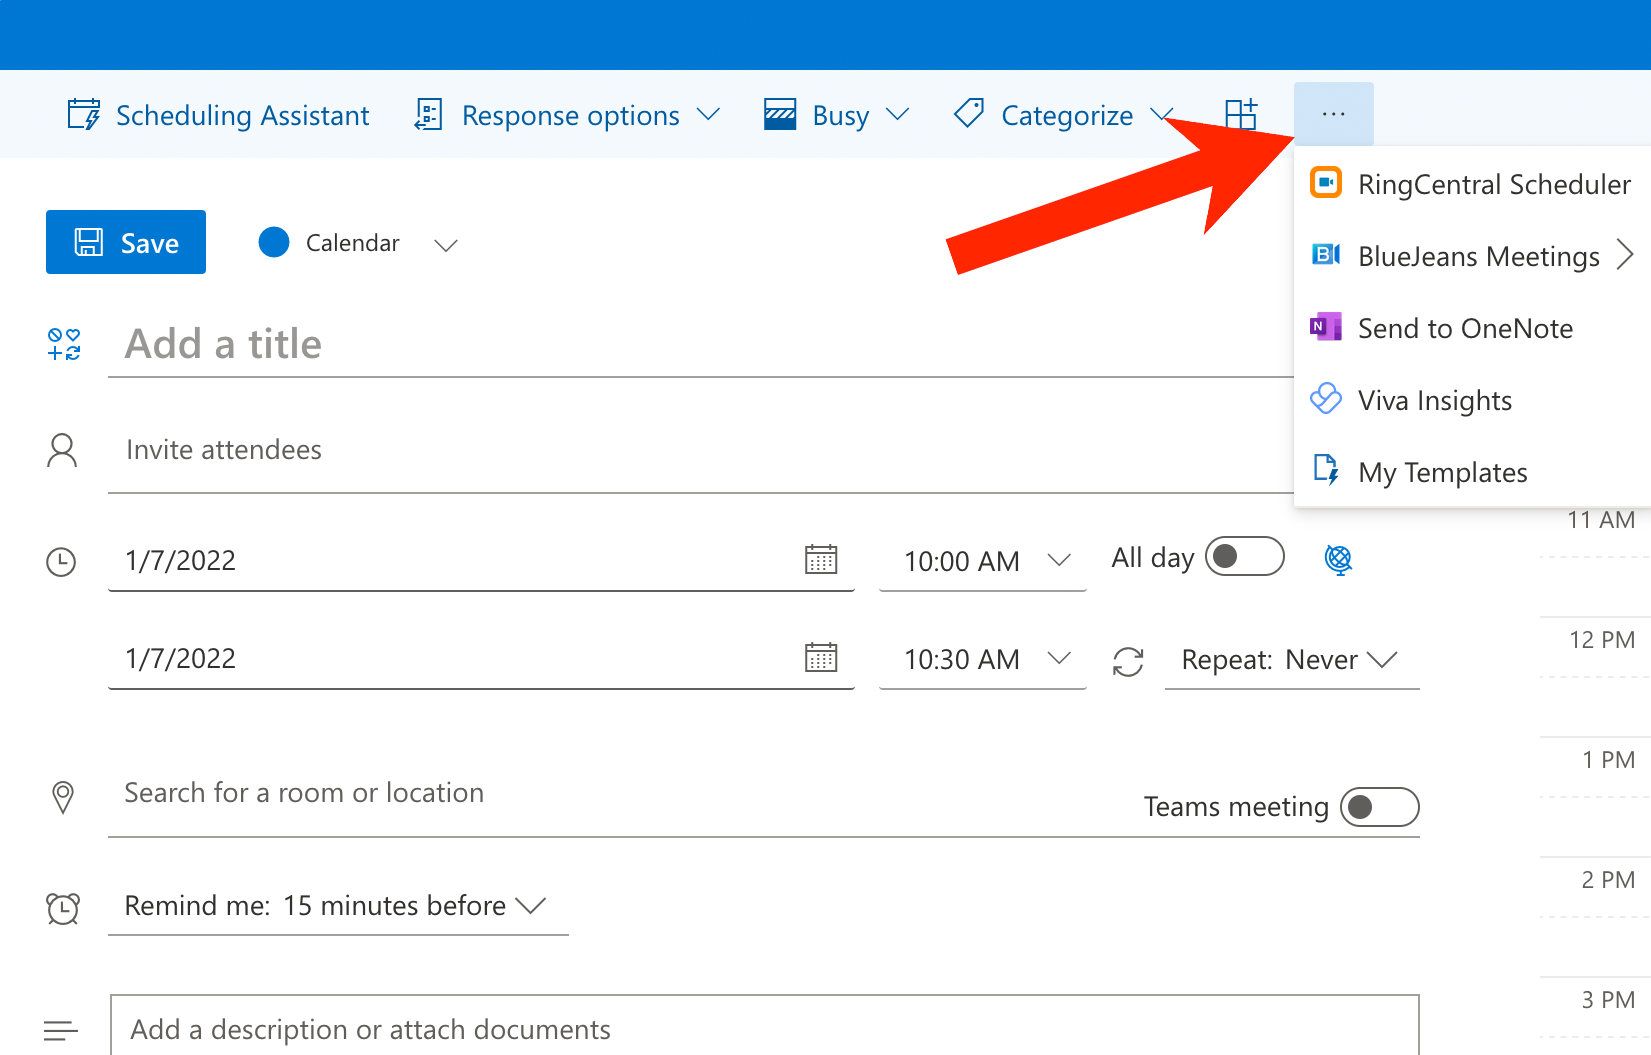
From the scheduling popup box, click the three dots to view more options and select the RingCentral Scheduler
-
The RingCentral Scheduler will load in a right-hand sidebar
- If this is your first time using the Outlook add-in, click the Sign in button to get started
-
Click Allow to continue to sign in to RingCentral
-
In the new window, sign in to RingCentral
- Once you’ve logged in to RingCentral, you will have meeting options from Outlook (on the left) such as date/time/invitees and RingCentral (on the right) which include settings for how your participants join the meeting
- IMPORTANT NOTE FOR SCHEDULING RECURRING MEETINGS: Be sure to select both the Repeat setting in Outlook AND the Recurring meeting checkbox in RingCentral
- Click Add meeting to add the RingCentral join details to your Outlook meeting
- You will see all the RingCentral join information populate on the left side of the screen
- If you need to make changes to the RingCentral settings, click the Update button after you do so
- Otherwise, click the Send button to send your meeting invitation to your recipients
- From your Outlook calendar you can view the meeting details
- Use the Edit and Cancel buttons to modify your meeting if needed
- Be sure to install the RingCentral app on your computer so you’ll be ready to host the meeting
Starting your scheduled RingCentral Meeting:
- Make sure you’ve installed the RingCentral app on your computer
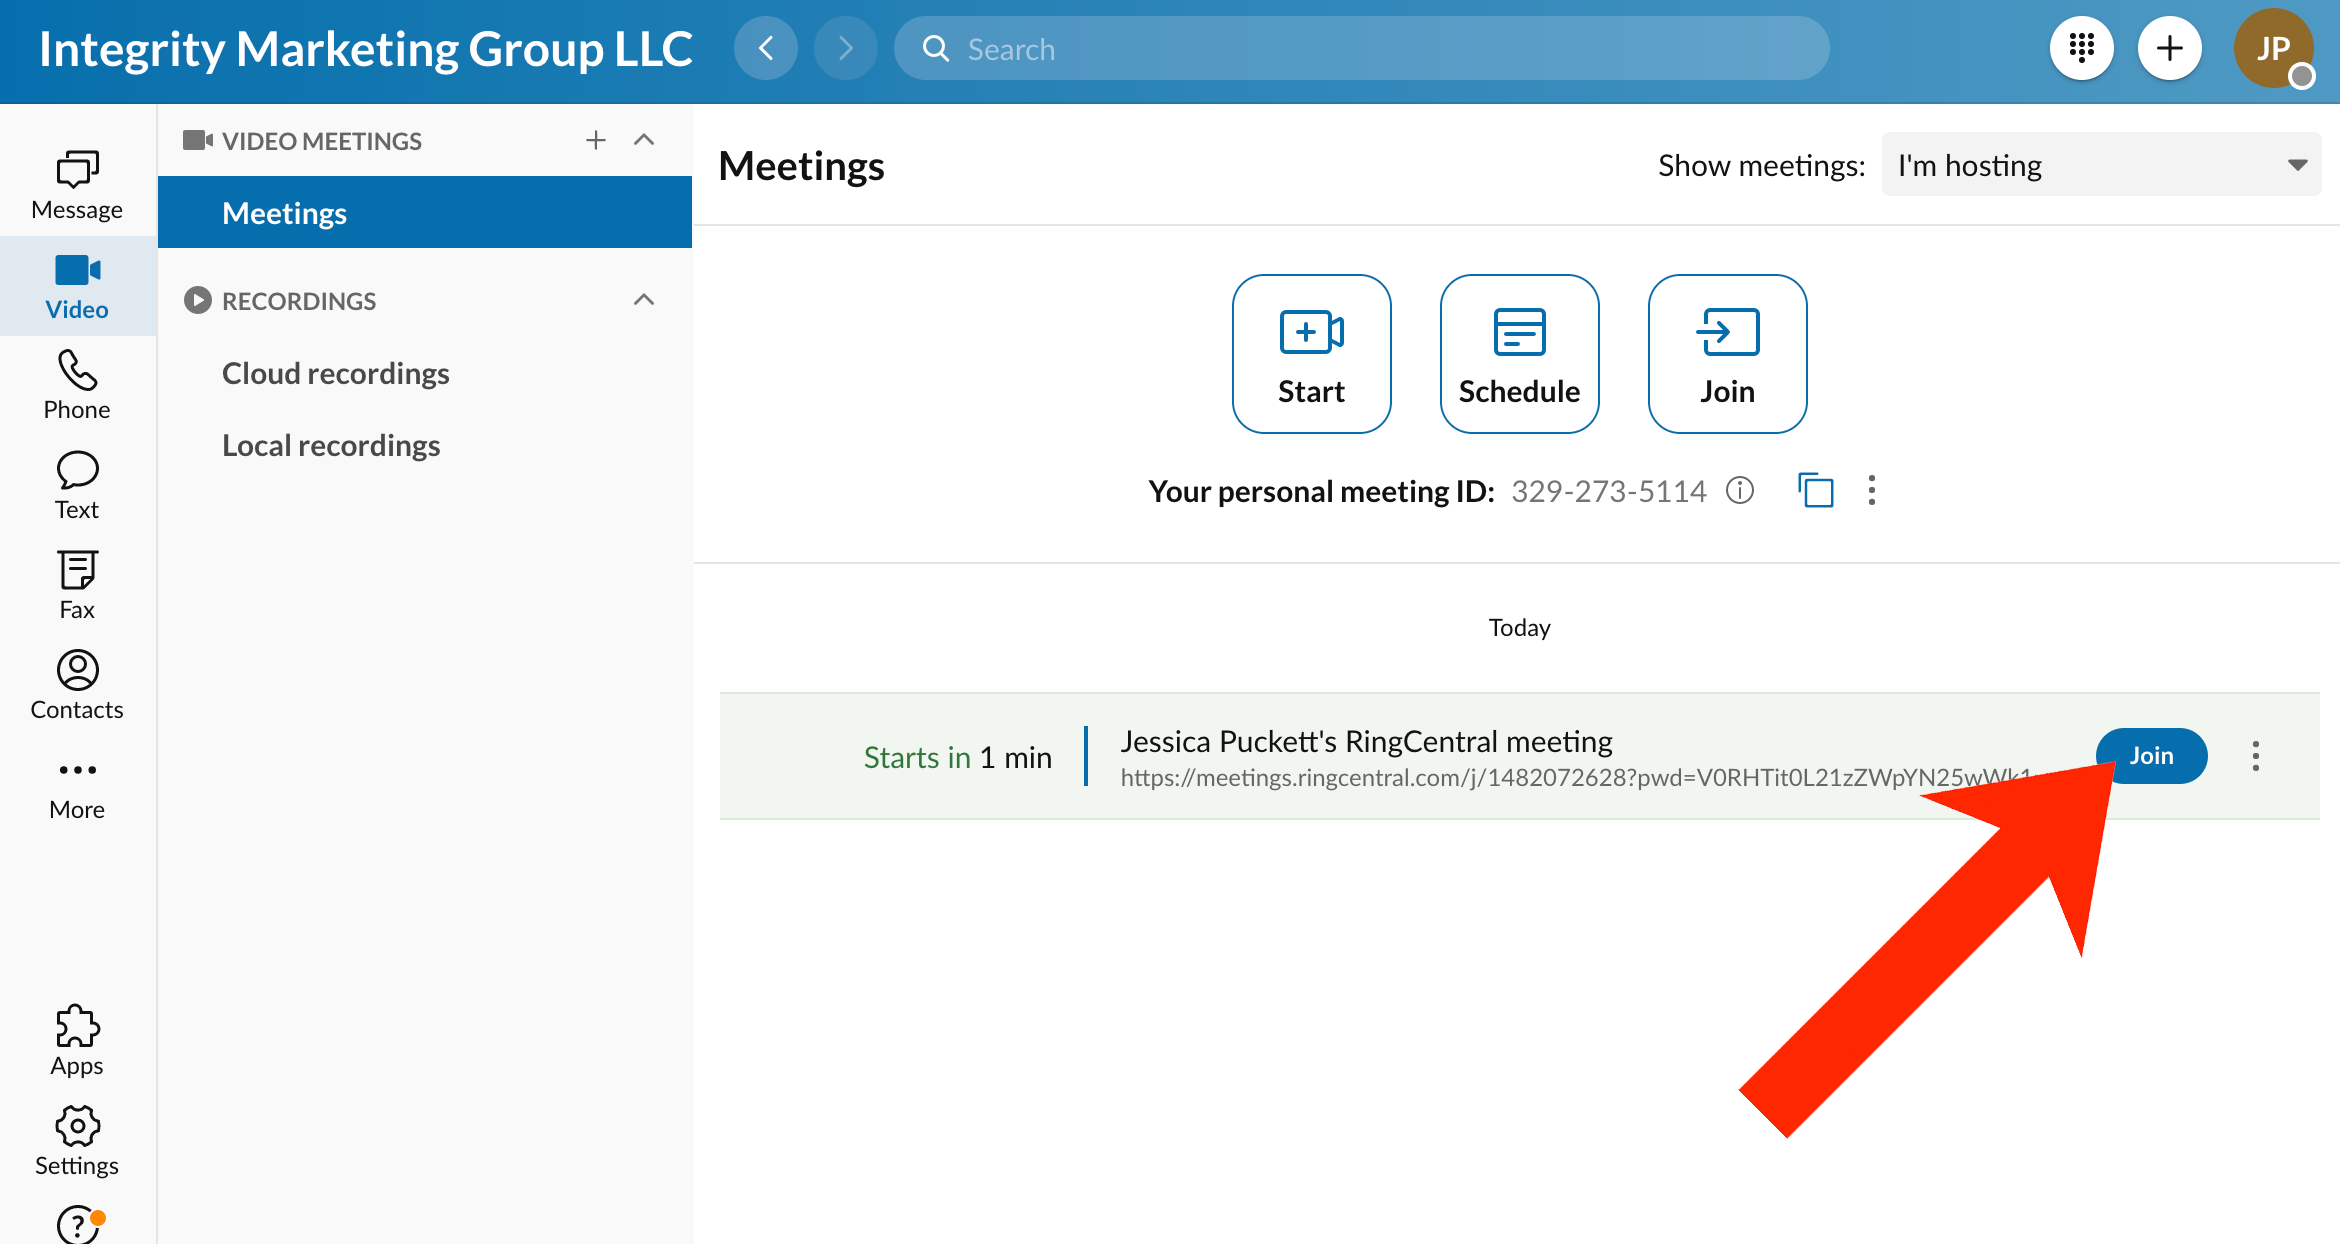
- Open the RingCentral app and click “Video”
- Your meetings will be listed in the window, select the meeting you wish to start and click “Join”
-
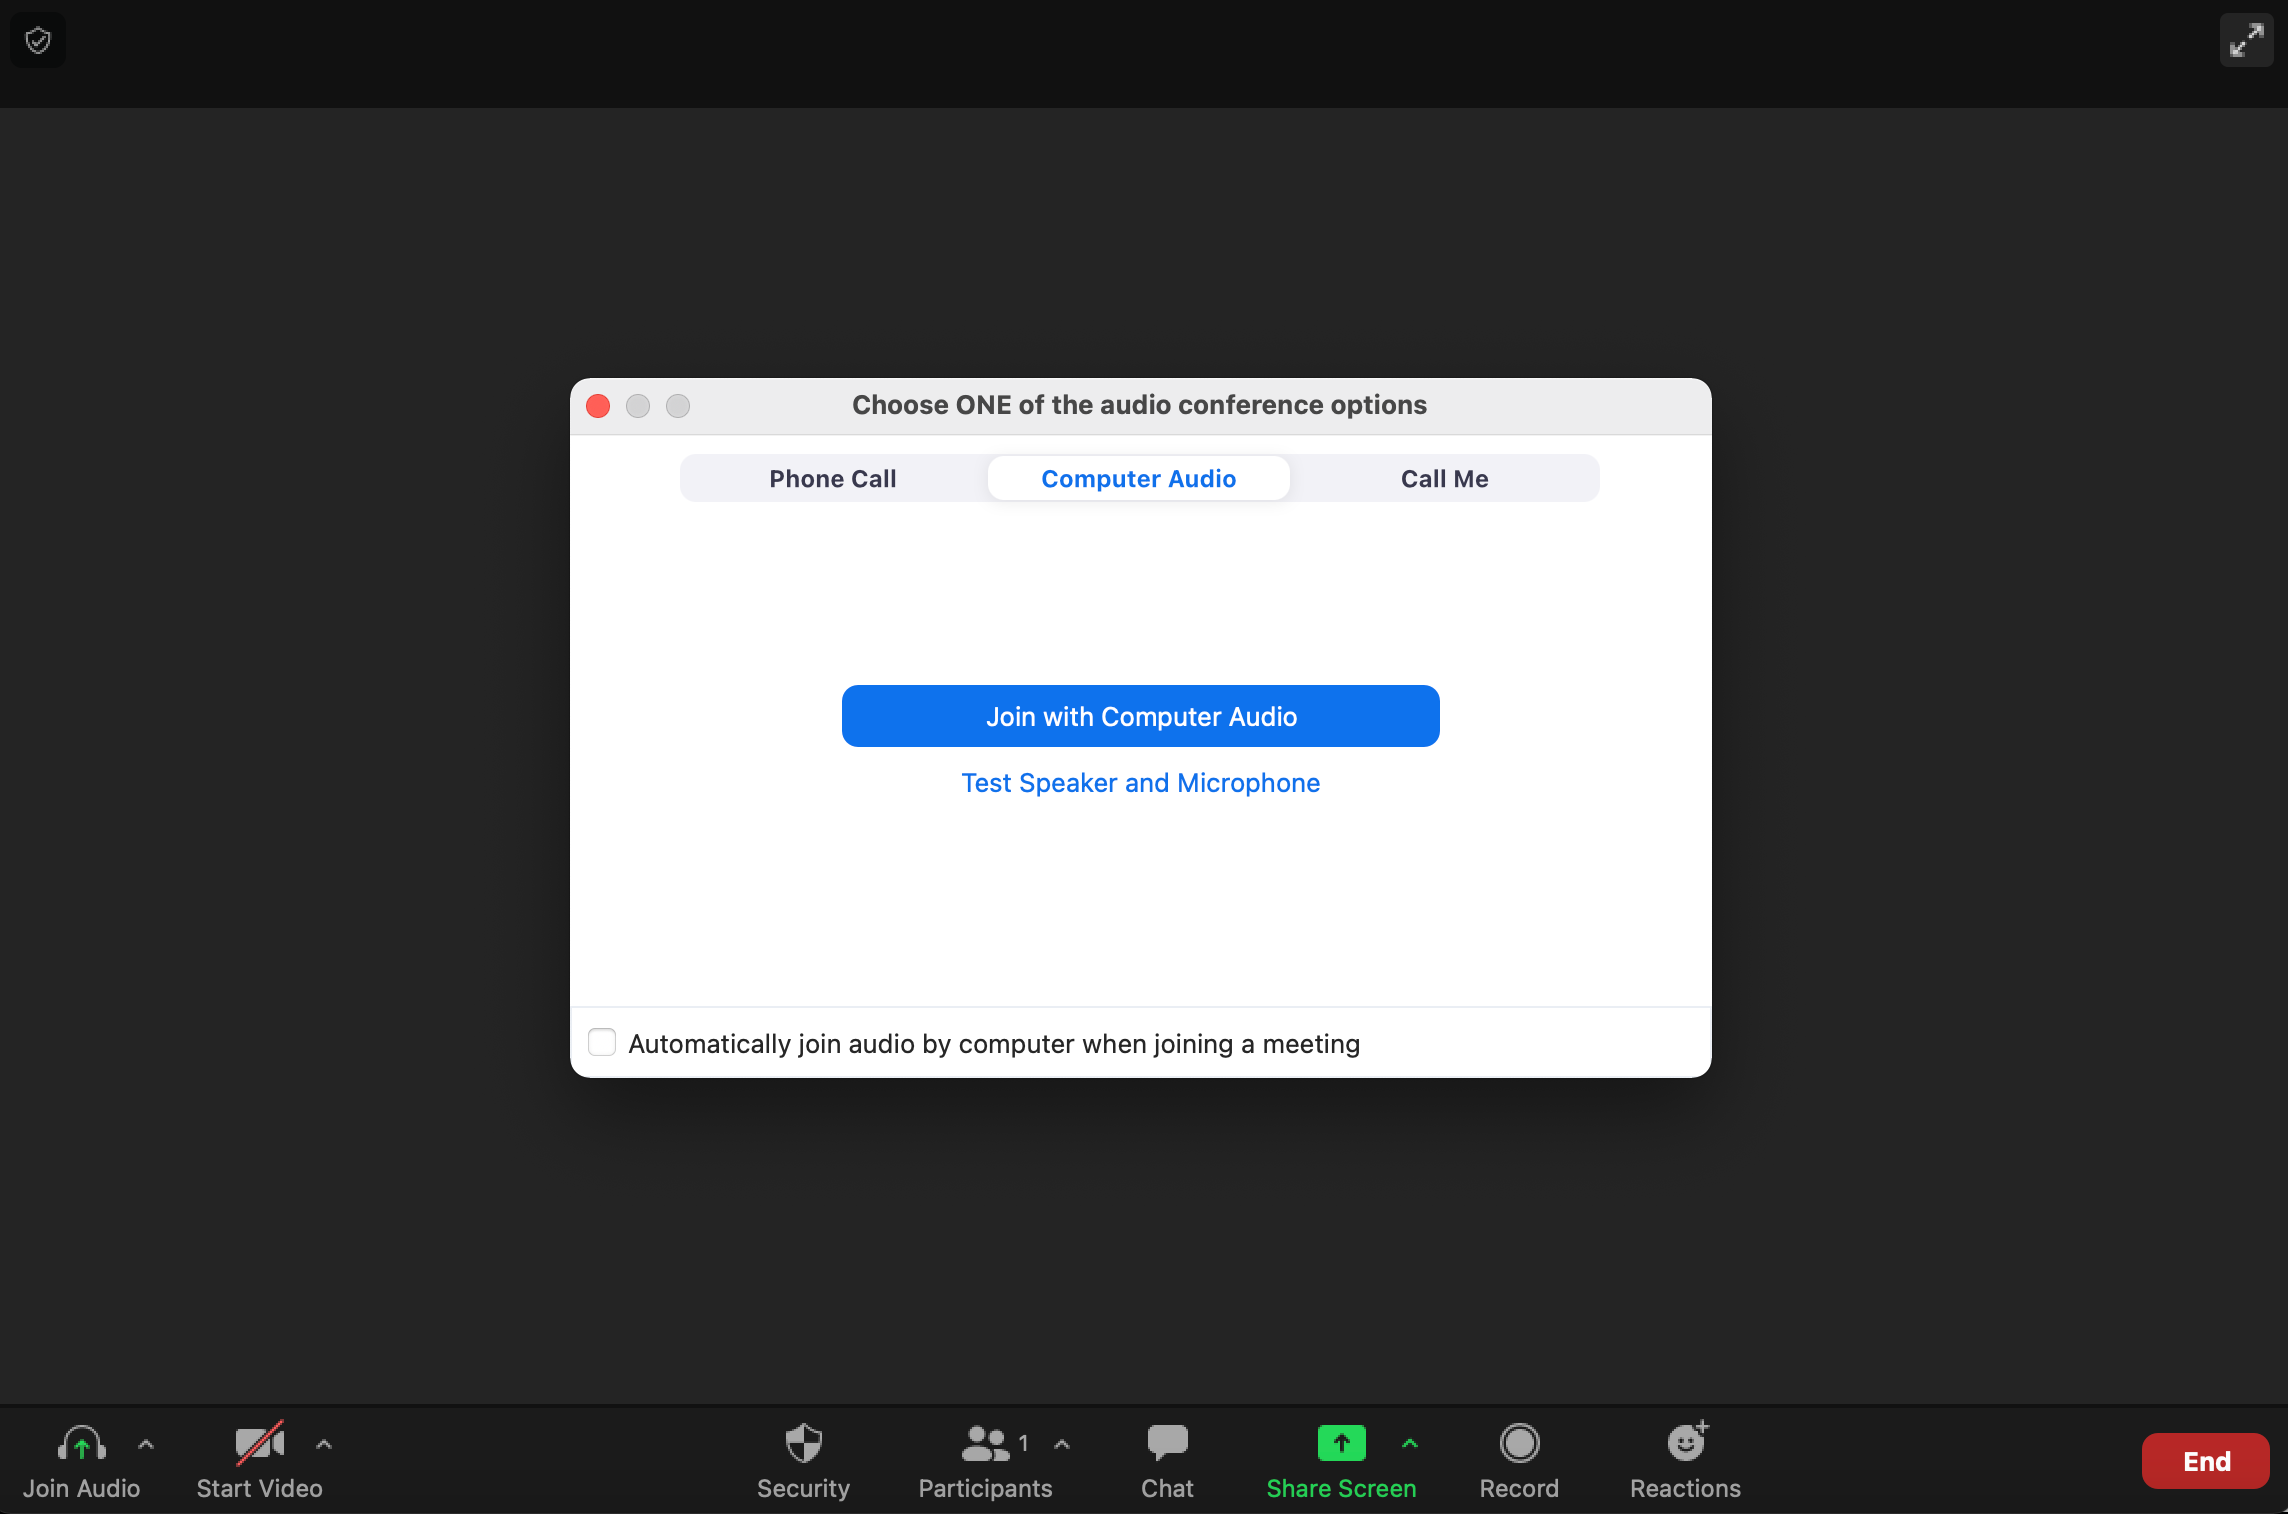
Select your audio settings and the meeting is live!
-
The toolbar at the bottom includes options to view your participant list, chat, share screen, record, and more.
Scheduling a meeting in the RingCentral app:
- Open the RingCentral app on your desktop/laptop
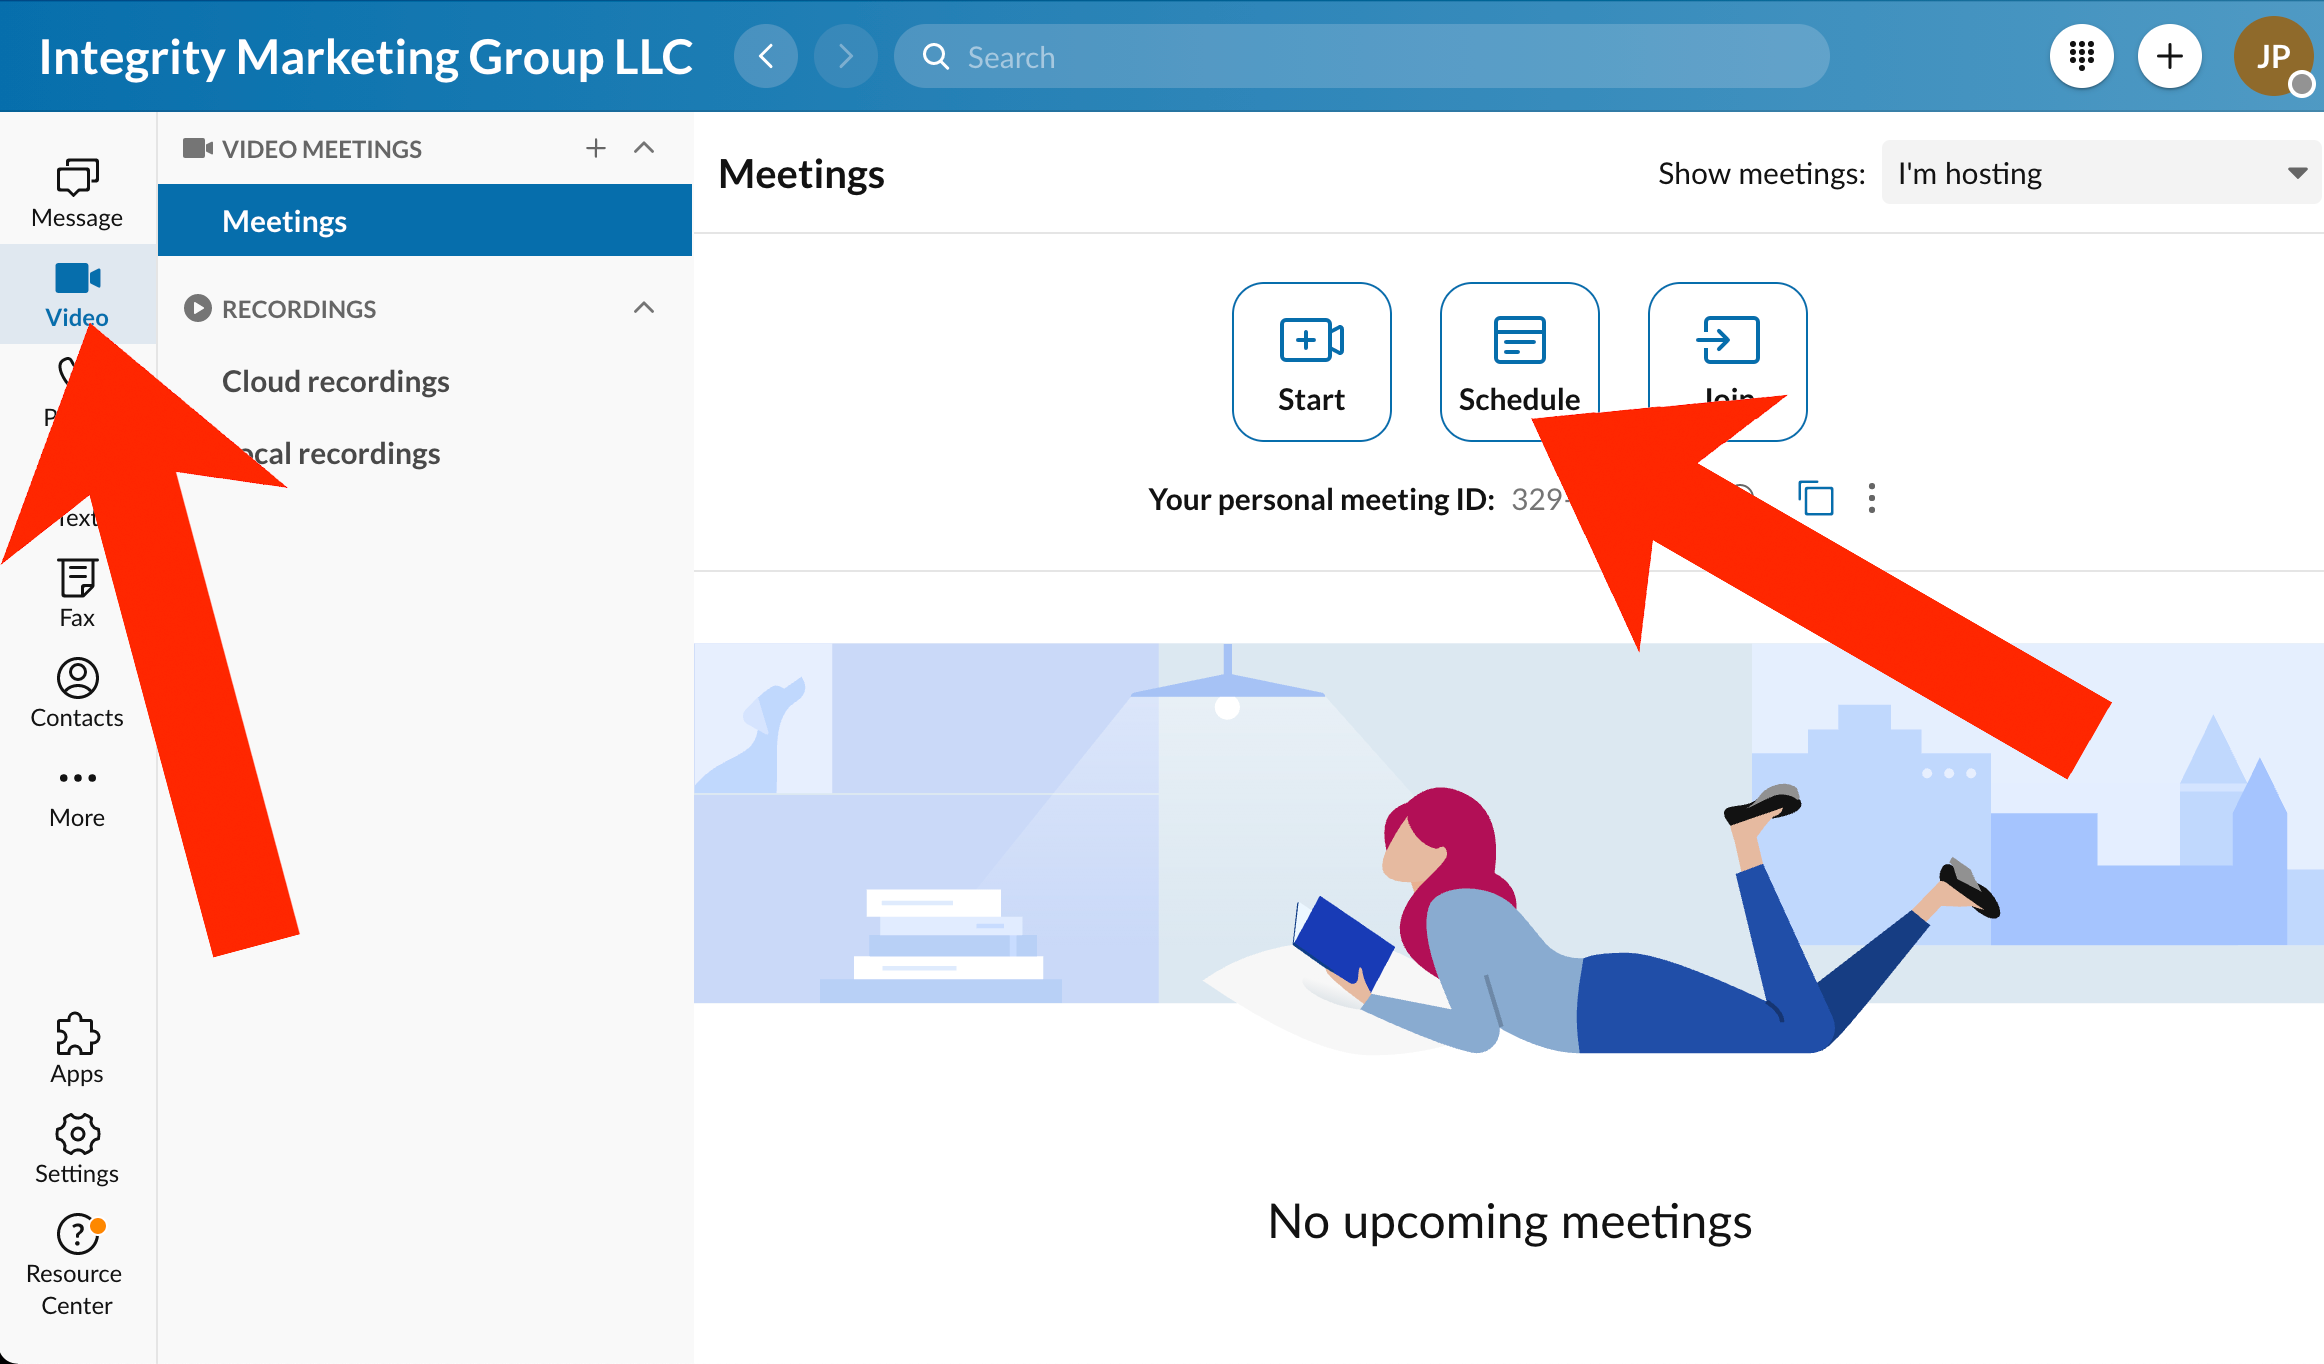
- Click “Video” and “Schedule”
-
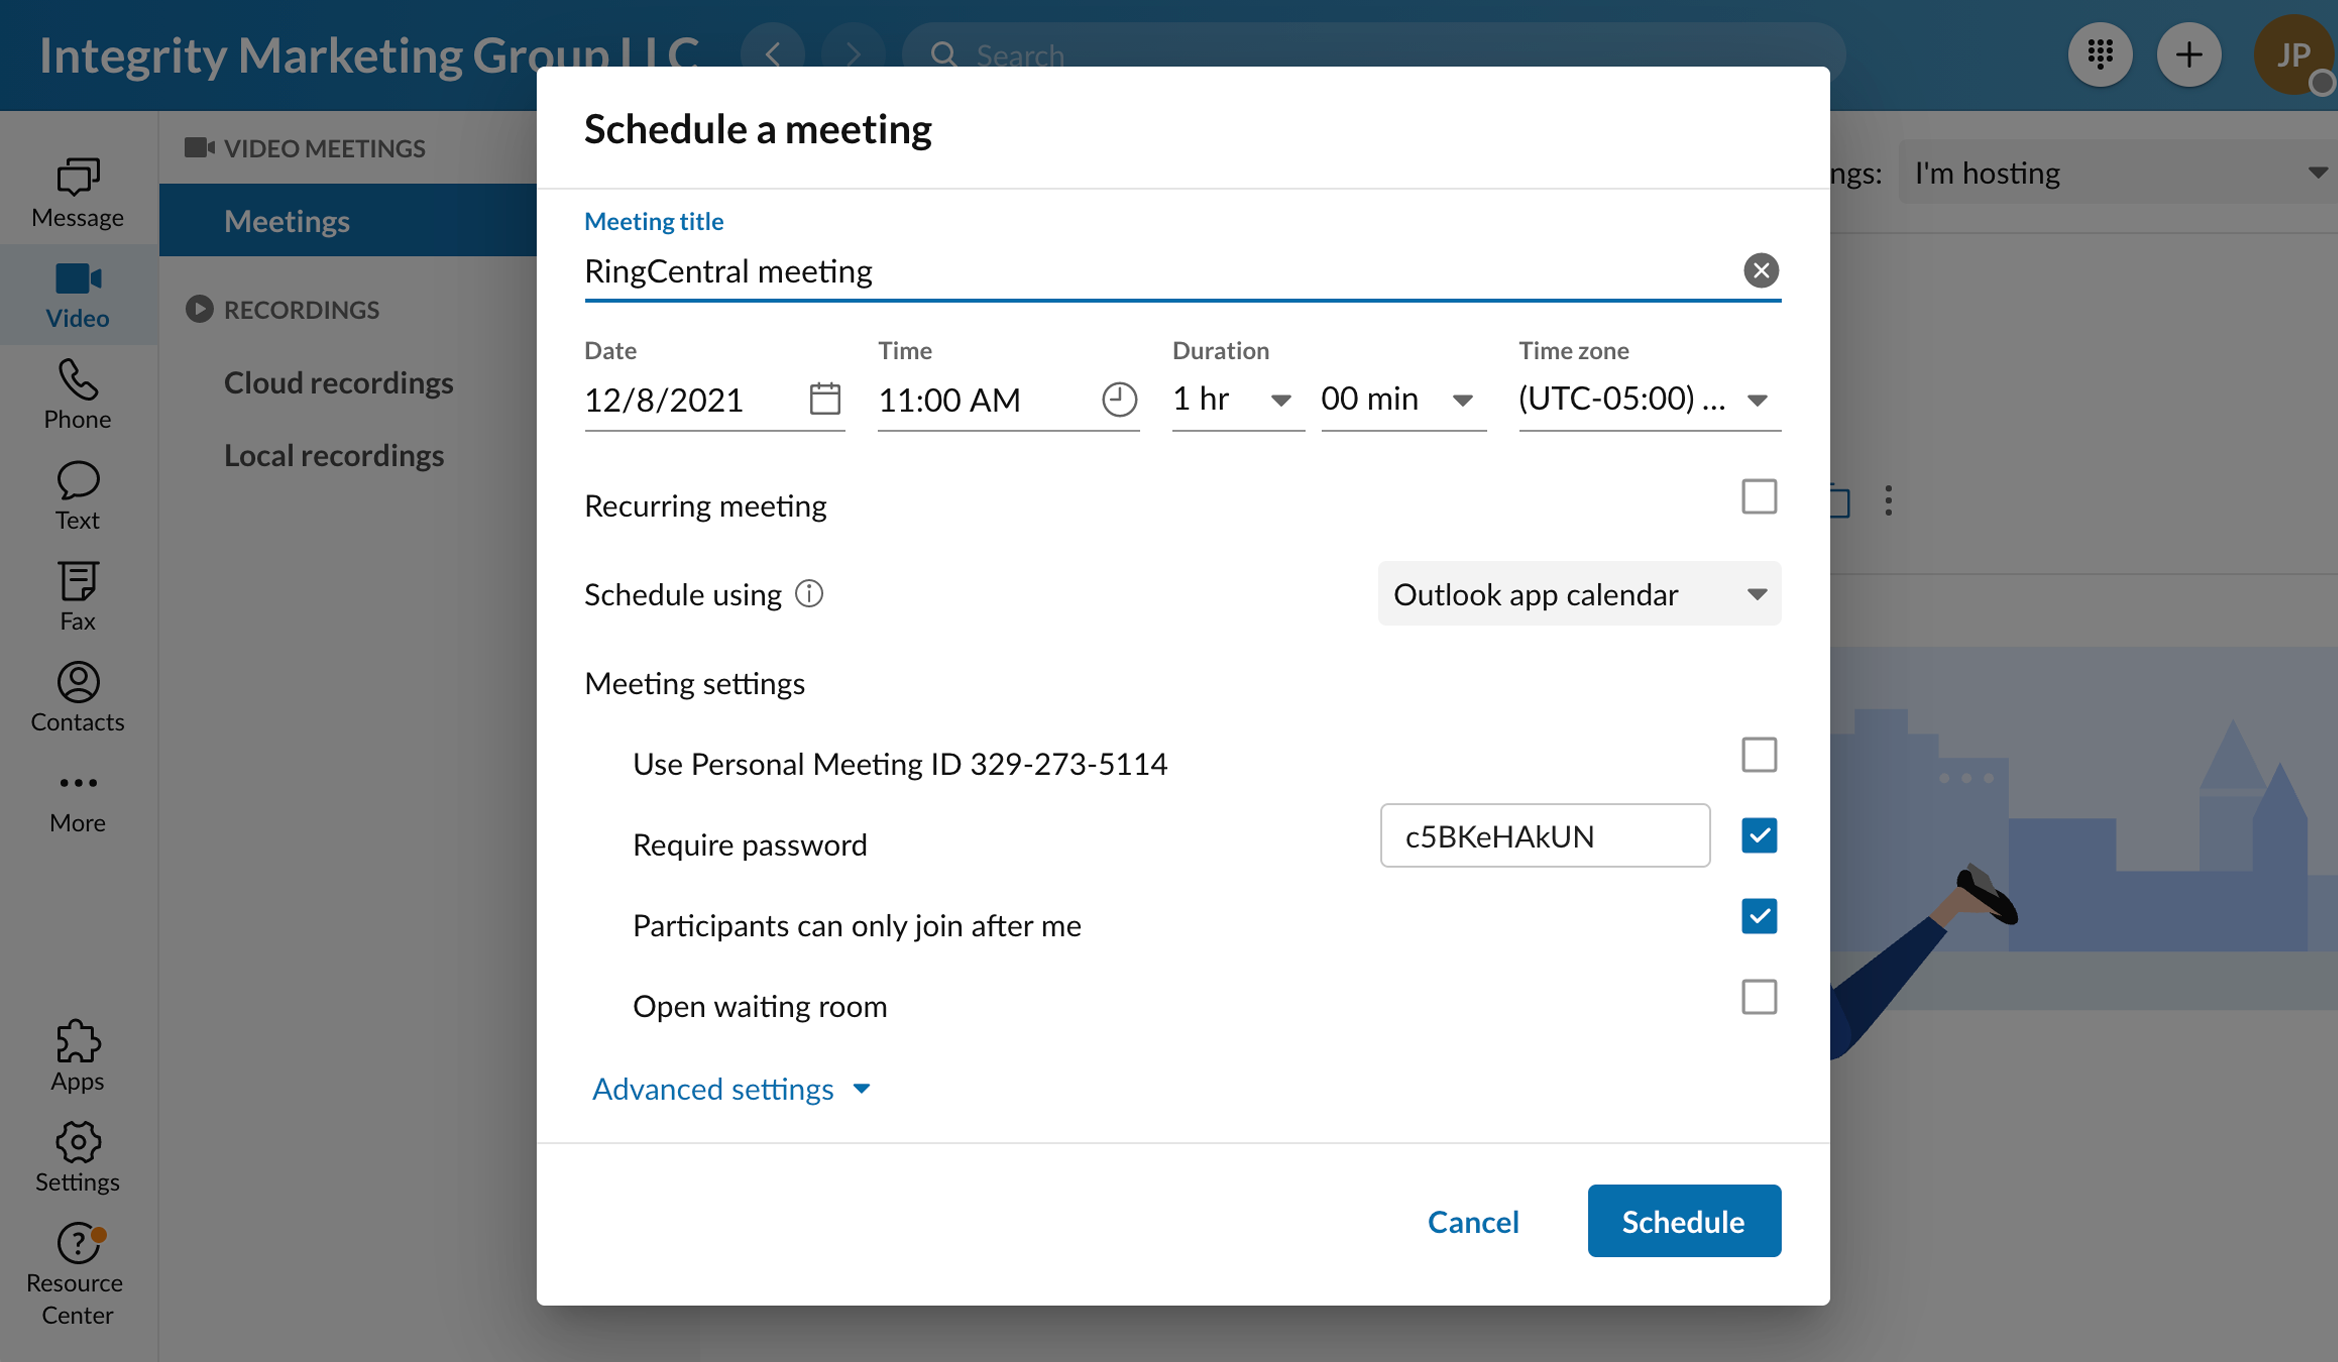
Select the date, time, and settings for your RingCentral meeting and click “Schedule”
-
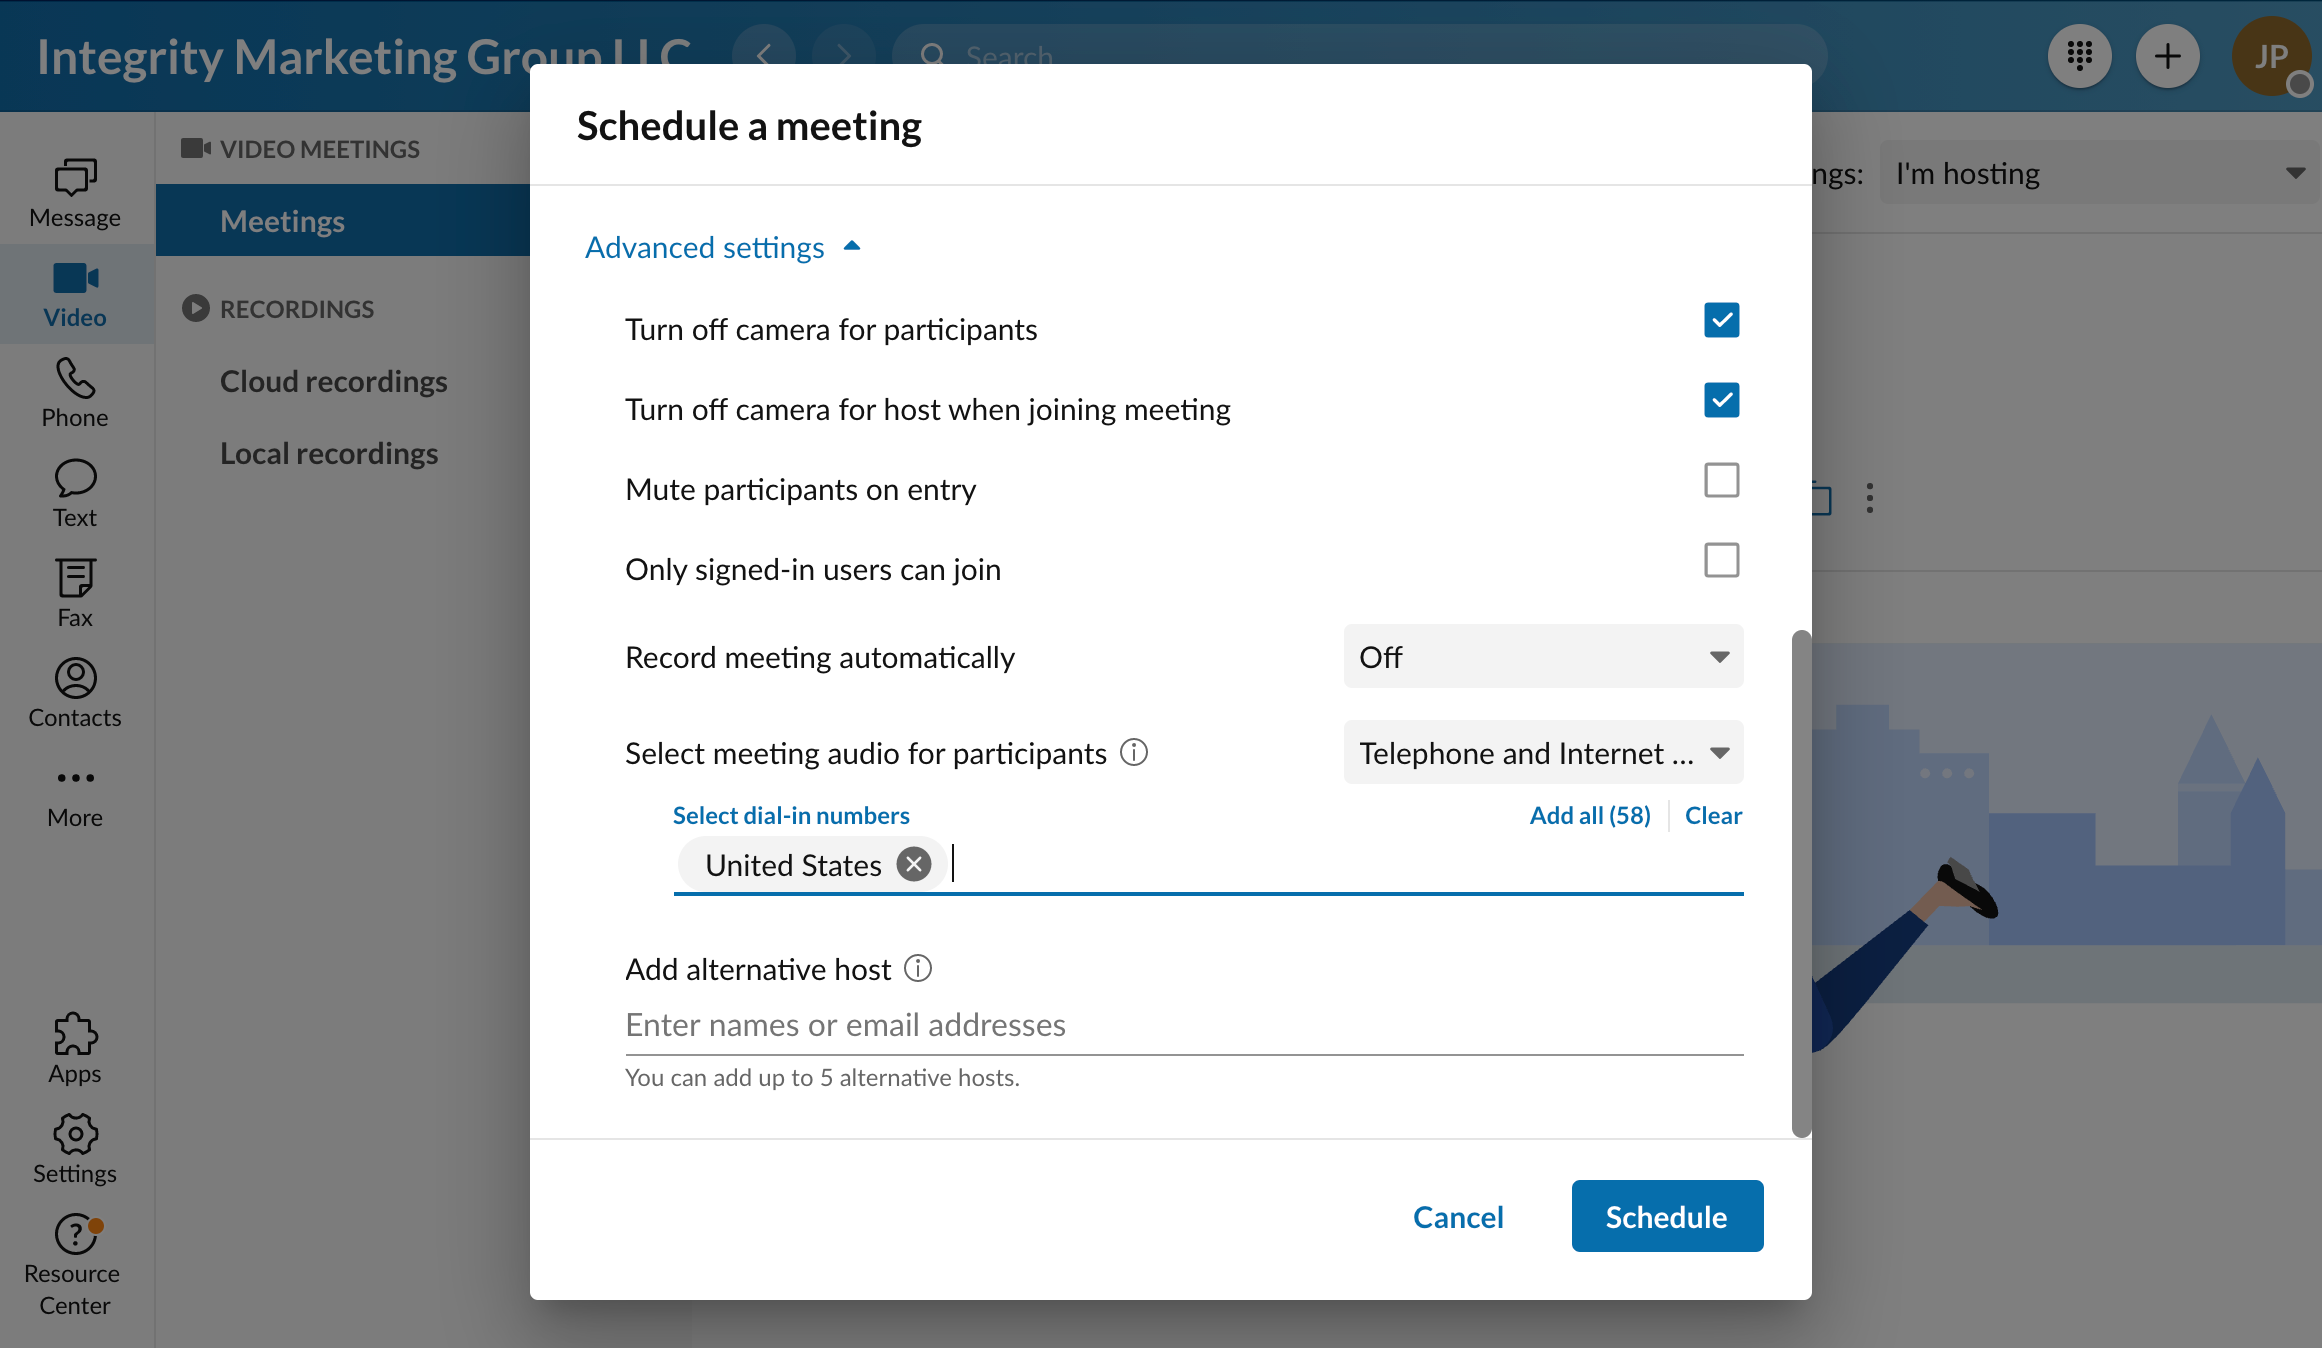
Note there are additional ‘Advanced settings’ which may apply.
Joining from a Room System:
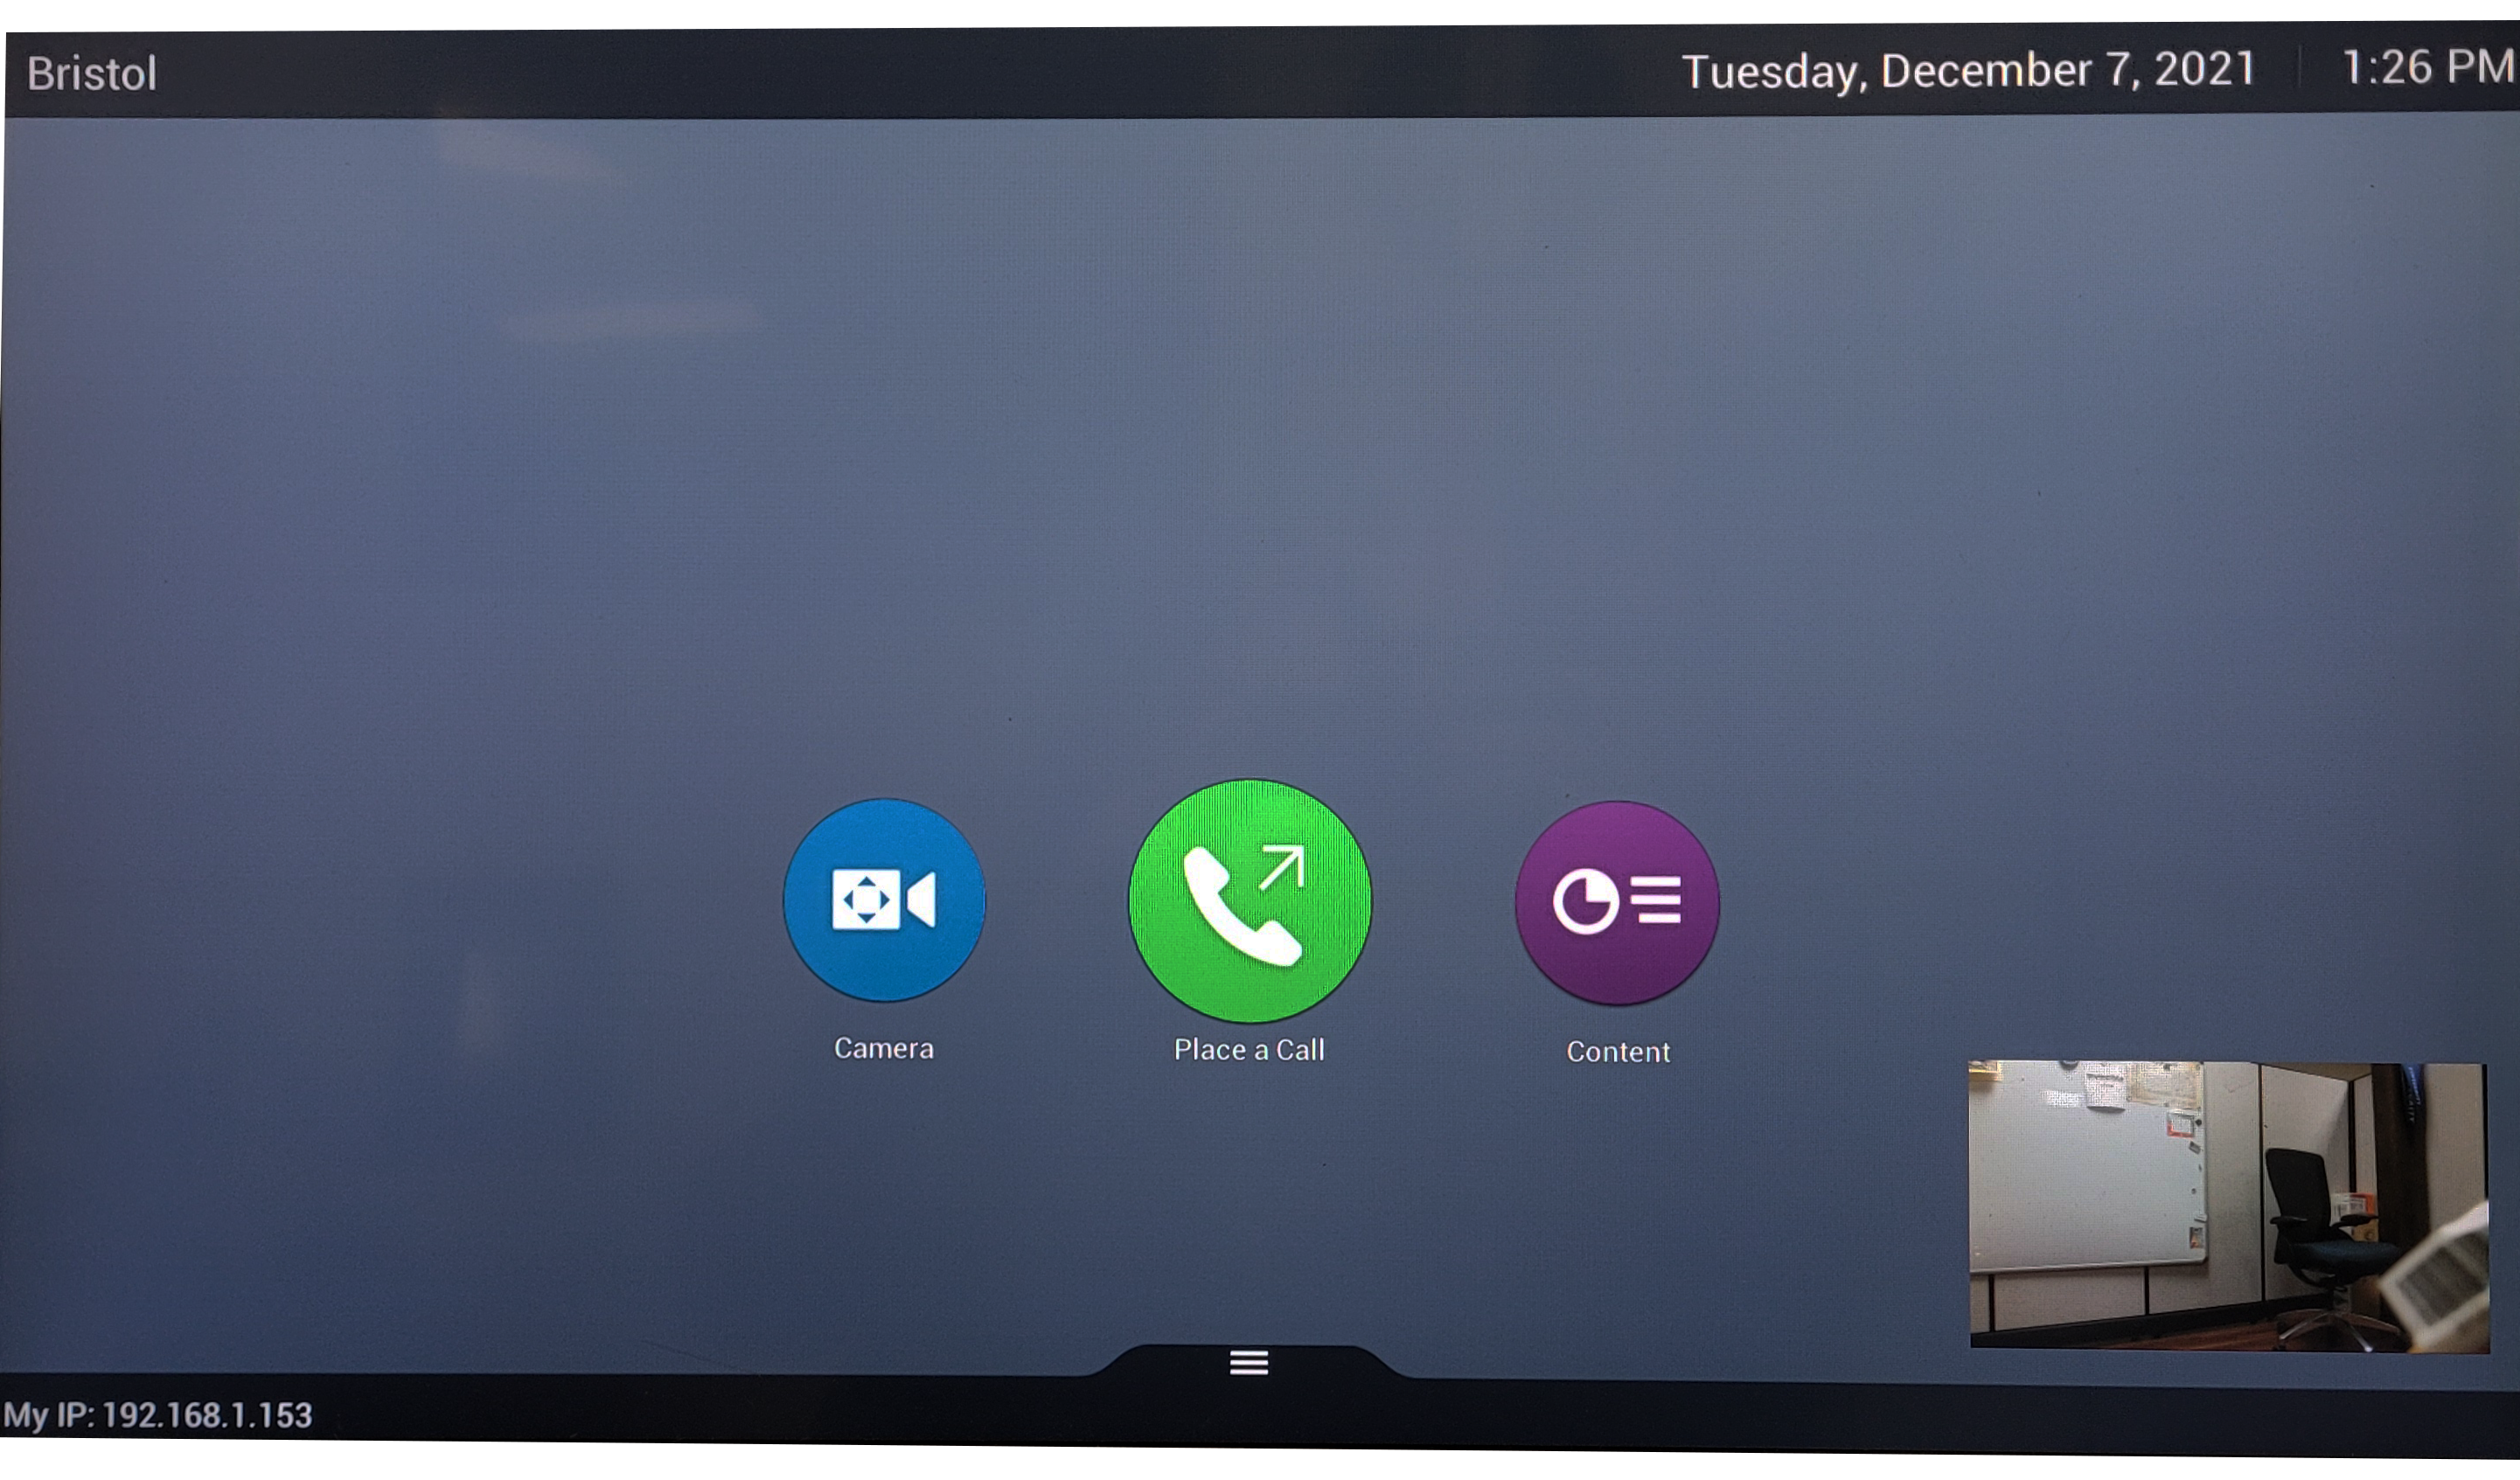
- Power on the meeting system
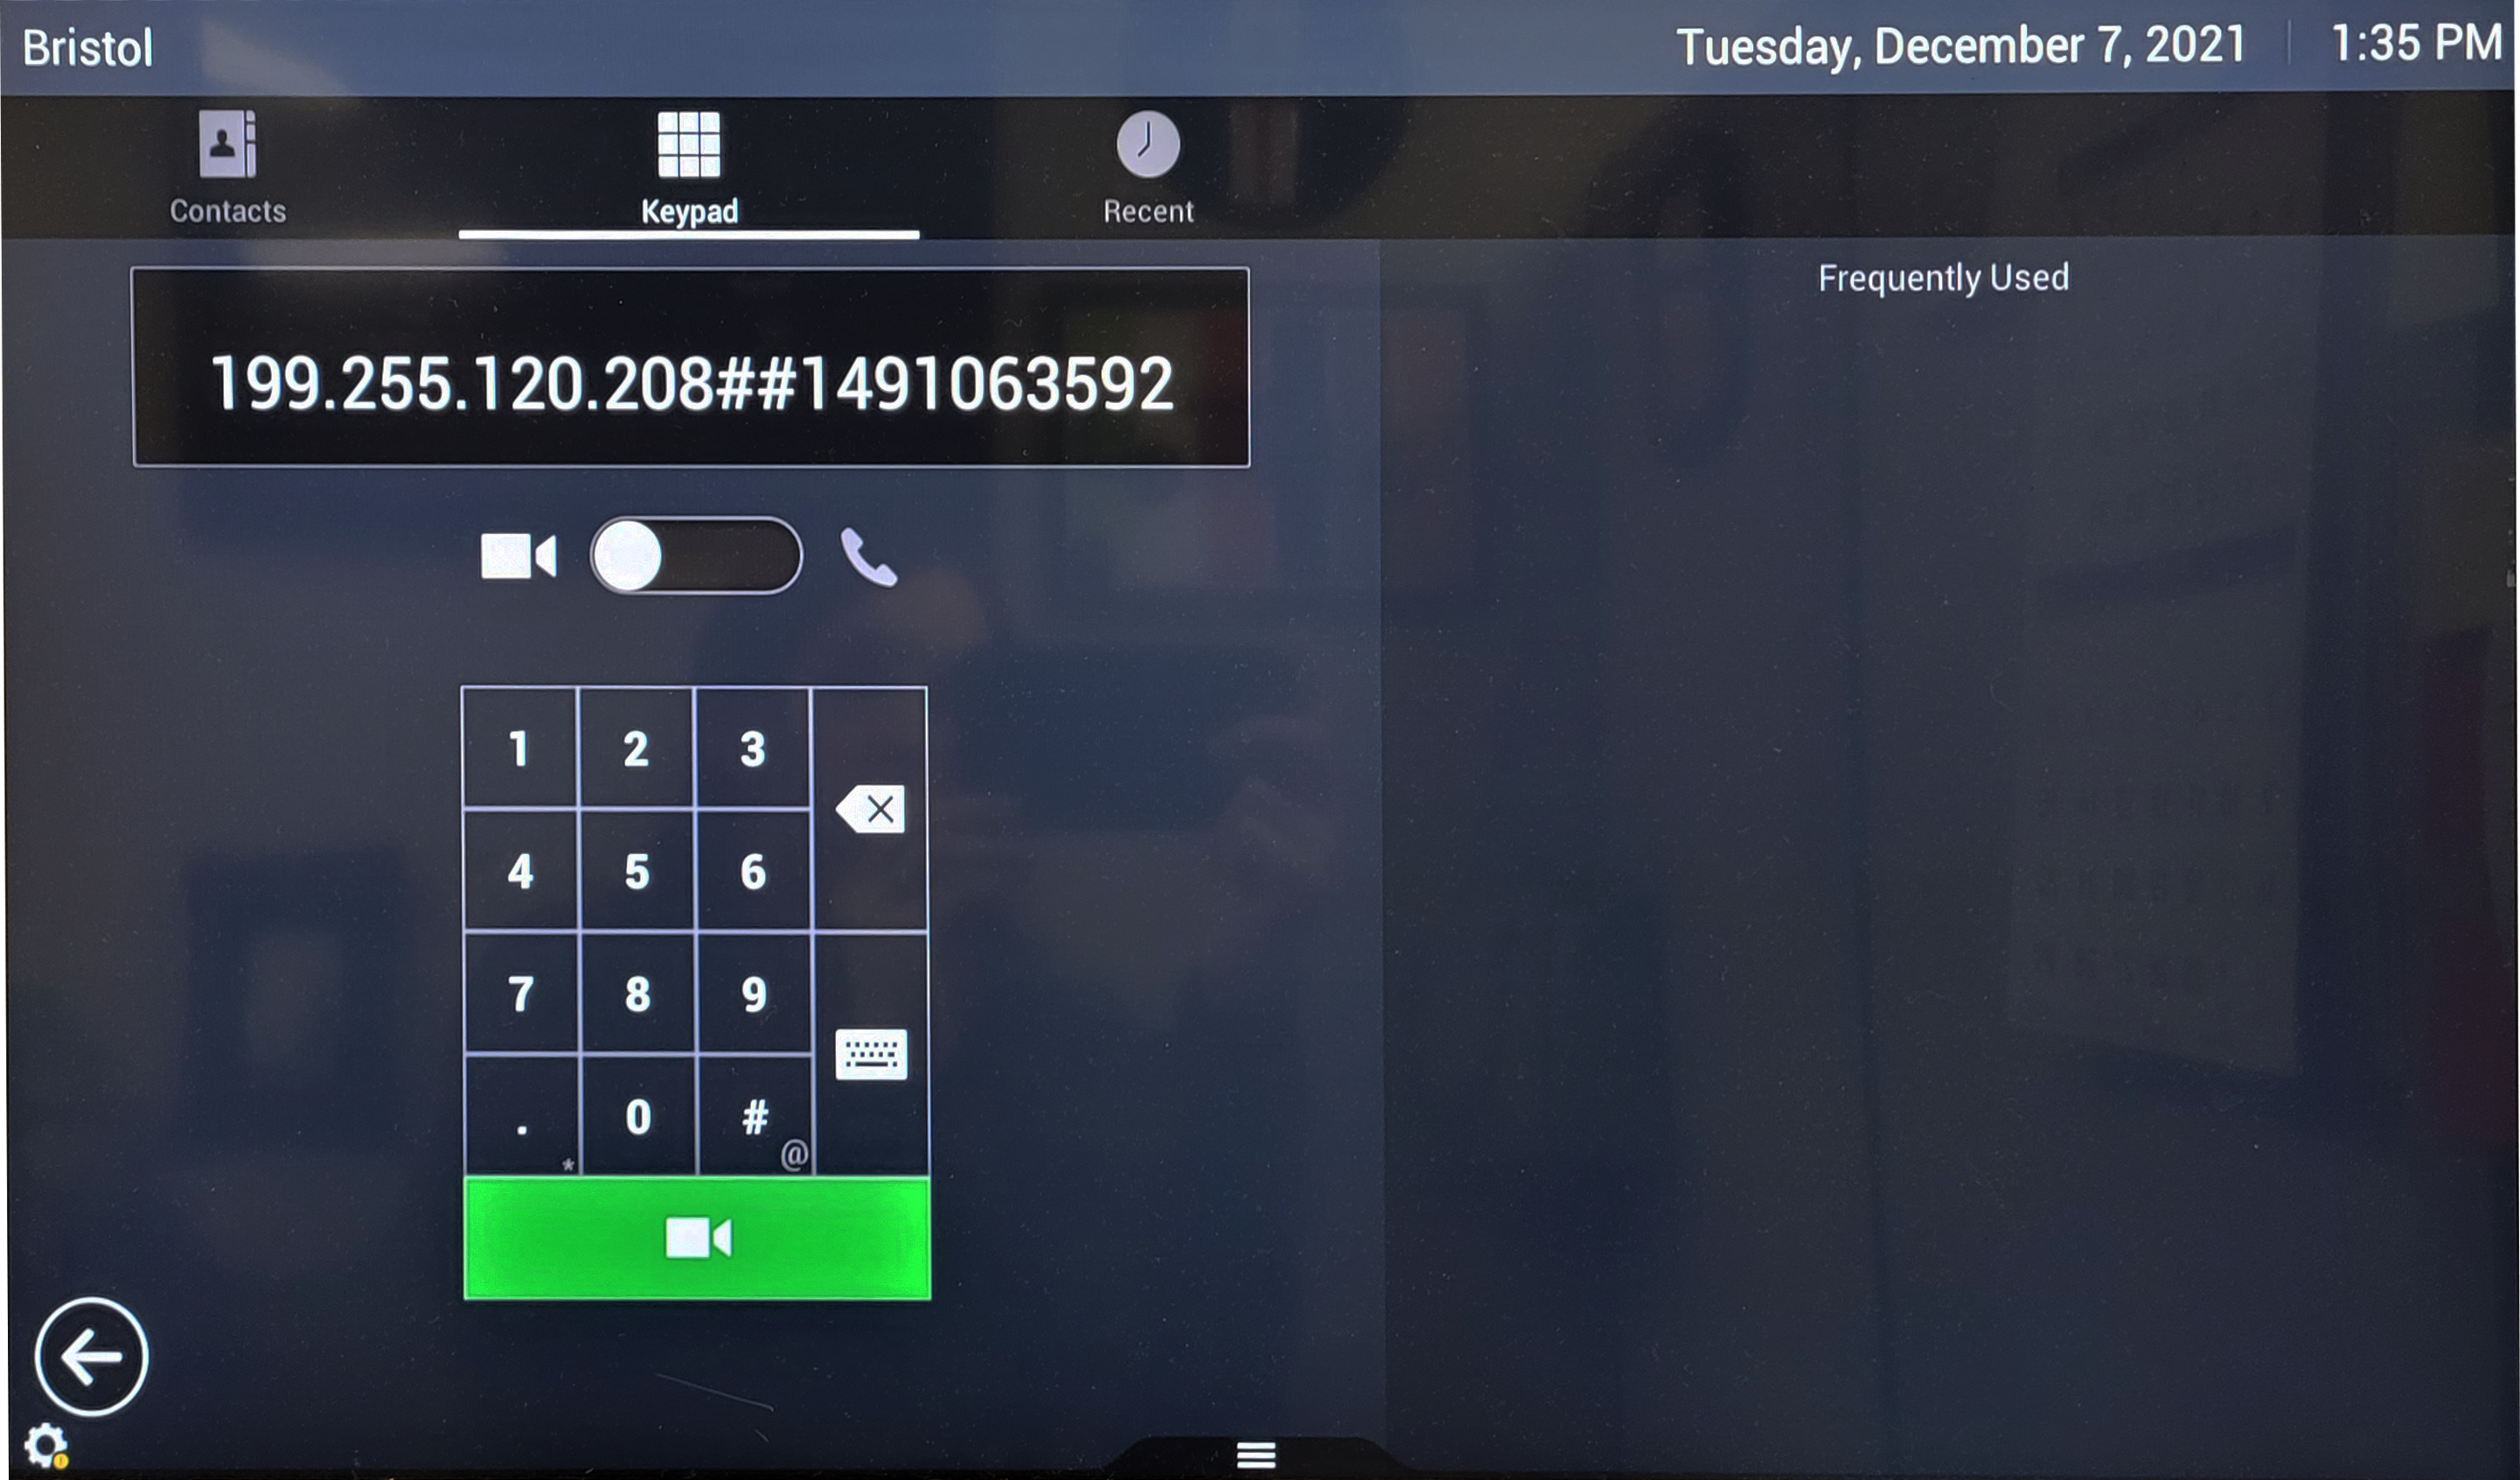
- From the home screen, select “Place a Call”
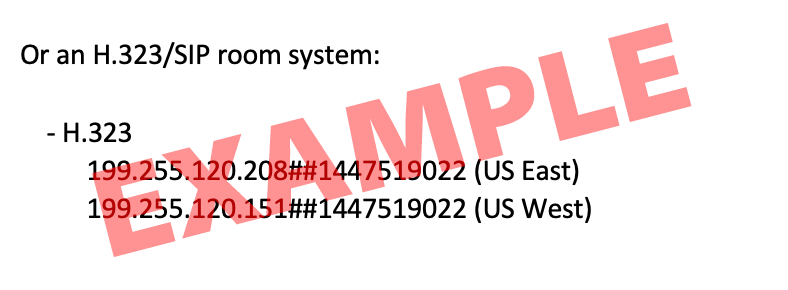
- Find the H.323 dial-in information near the bottom of your calendar invitation
- Dial the call-in information on the meeting system
- Your call will connect and you will join the meeting
Joining from a Mobile Device:
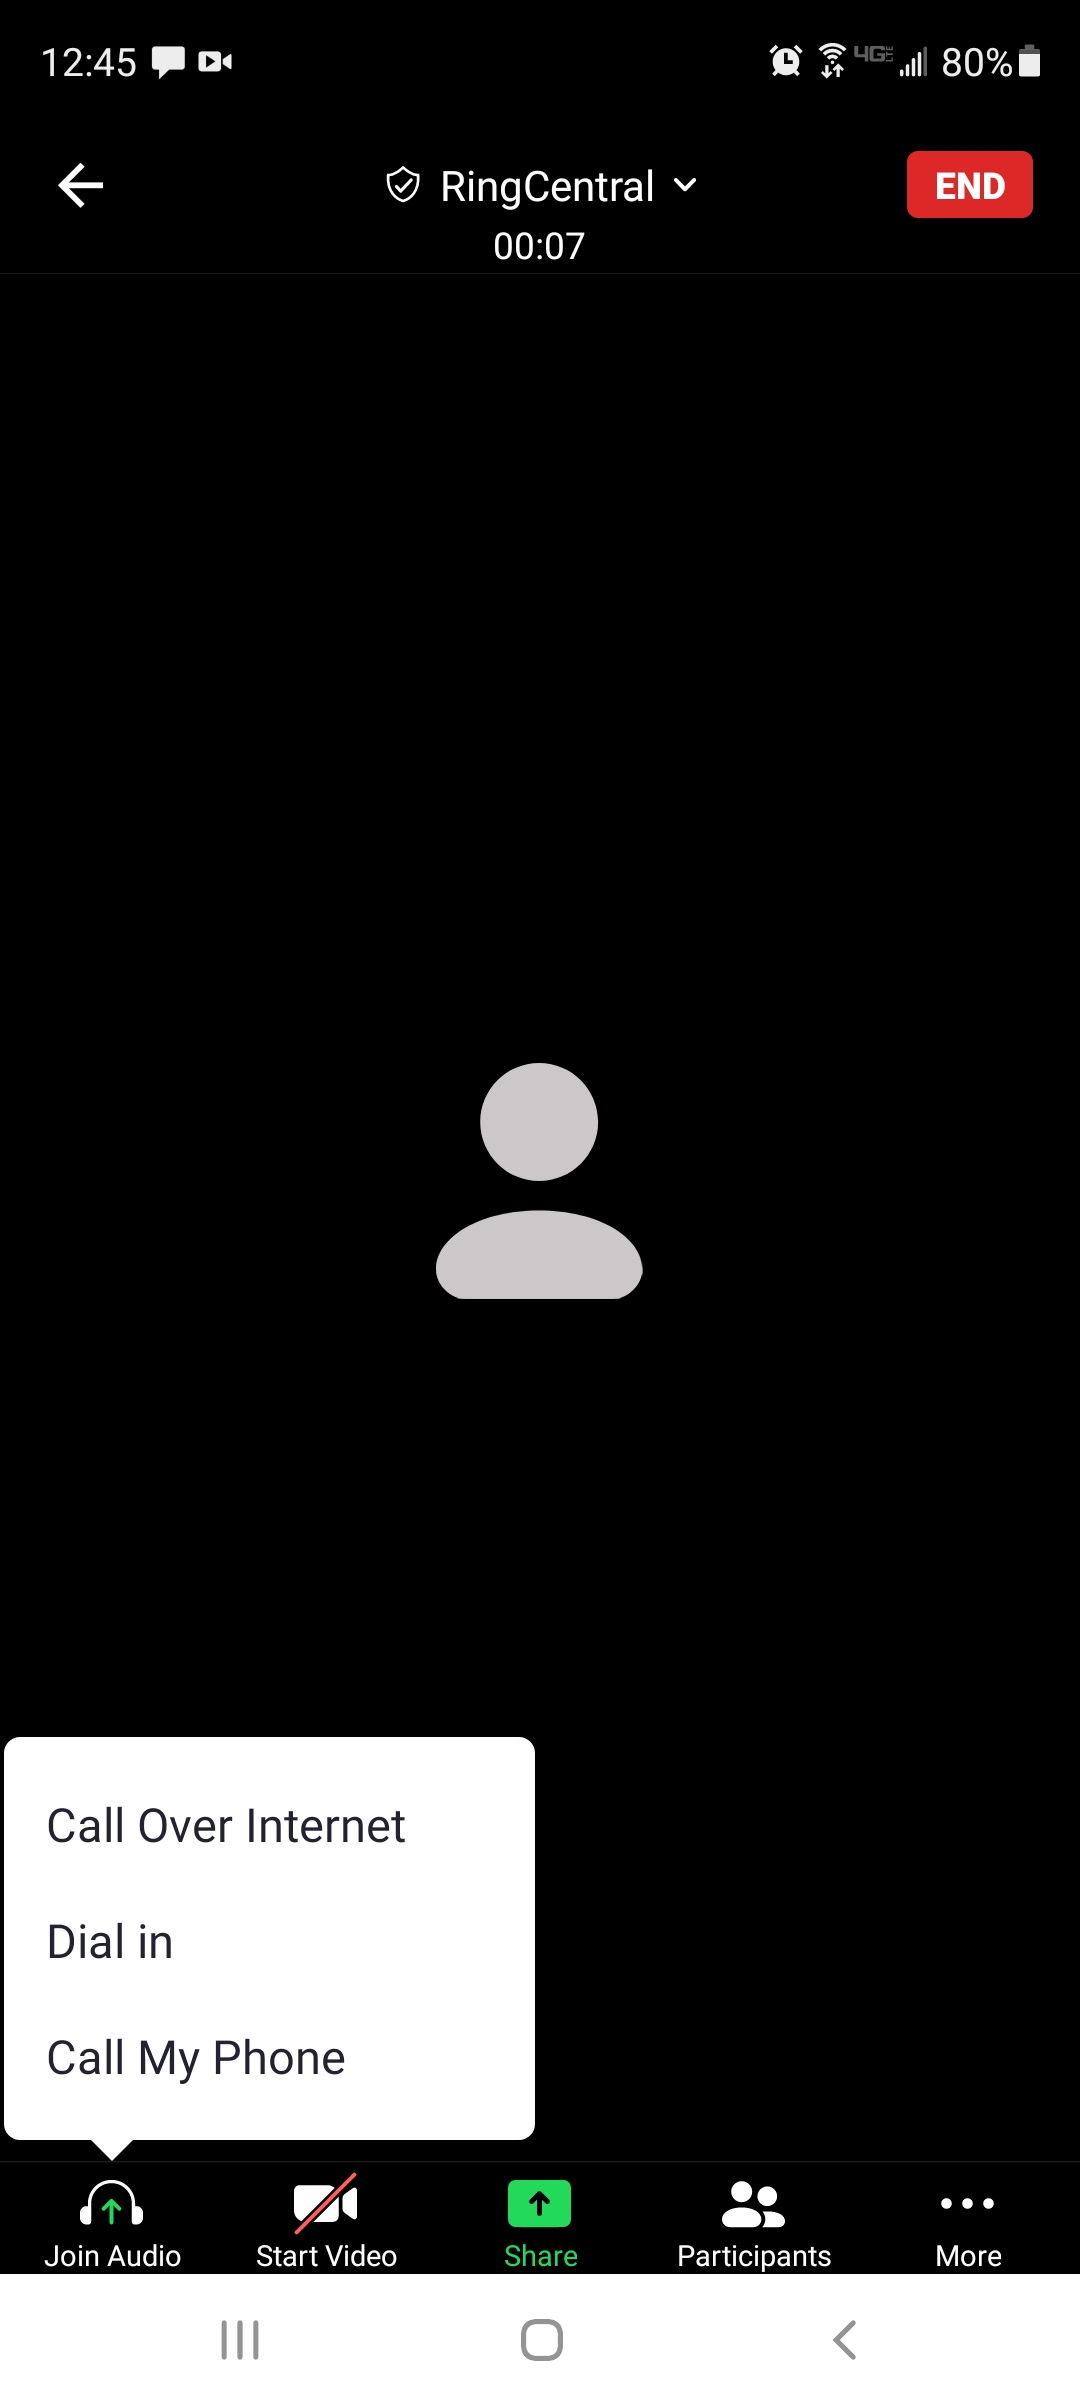
- Click the meeting link (from TAGforAgents.com or your Outlook calendar)
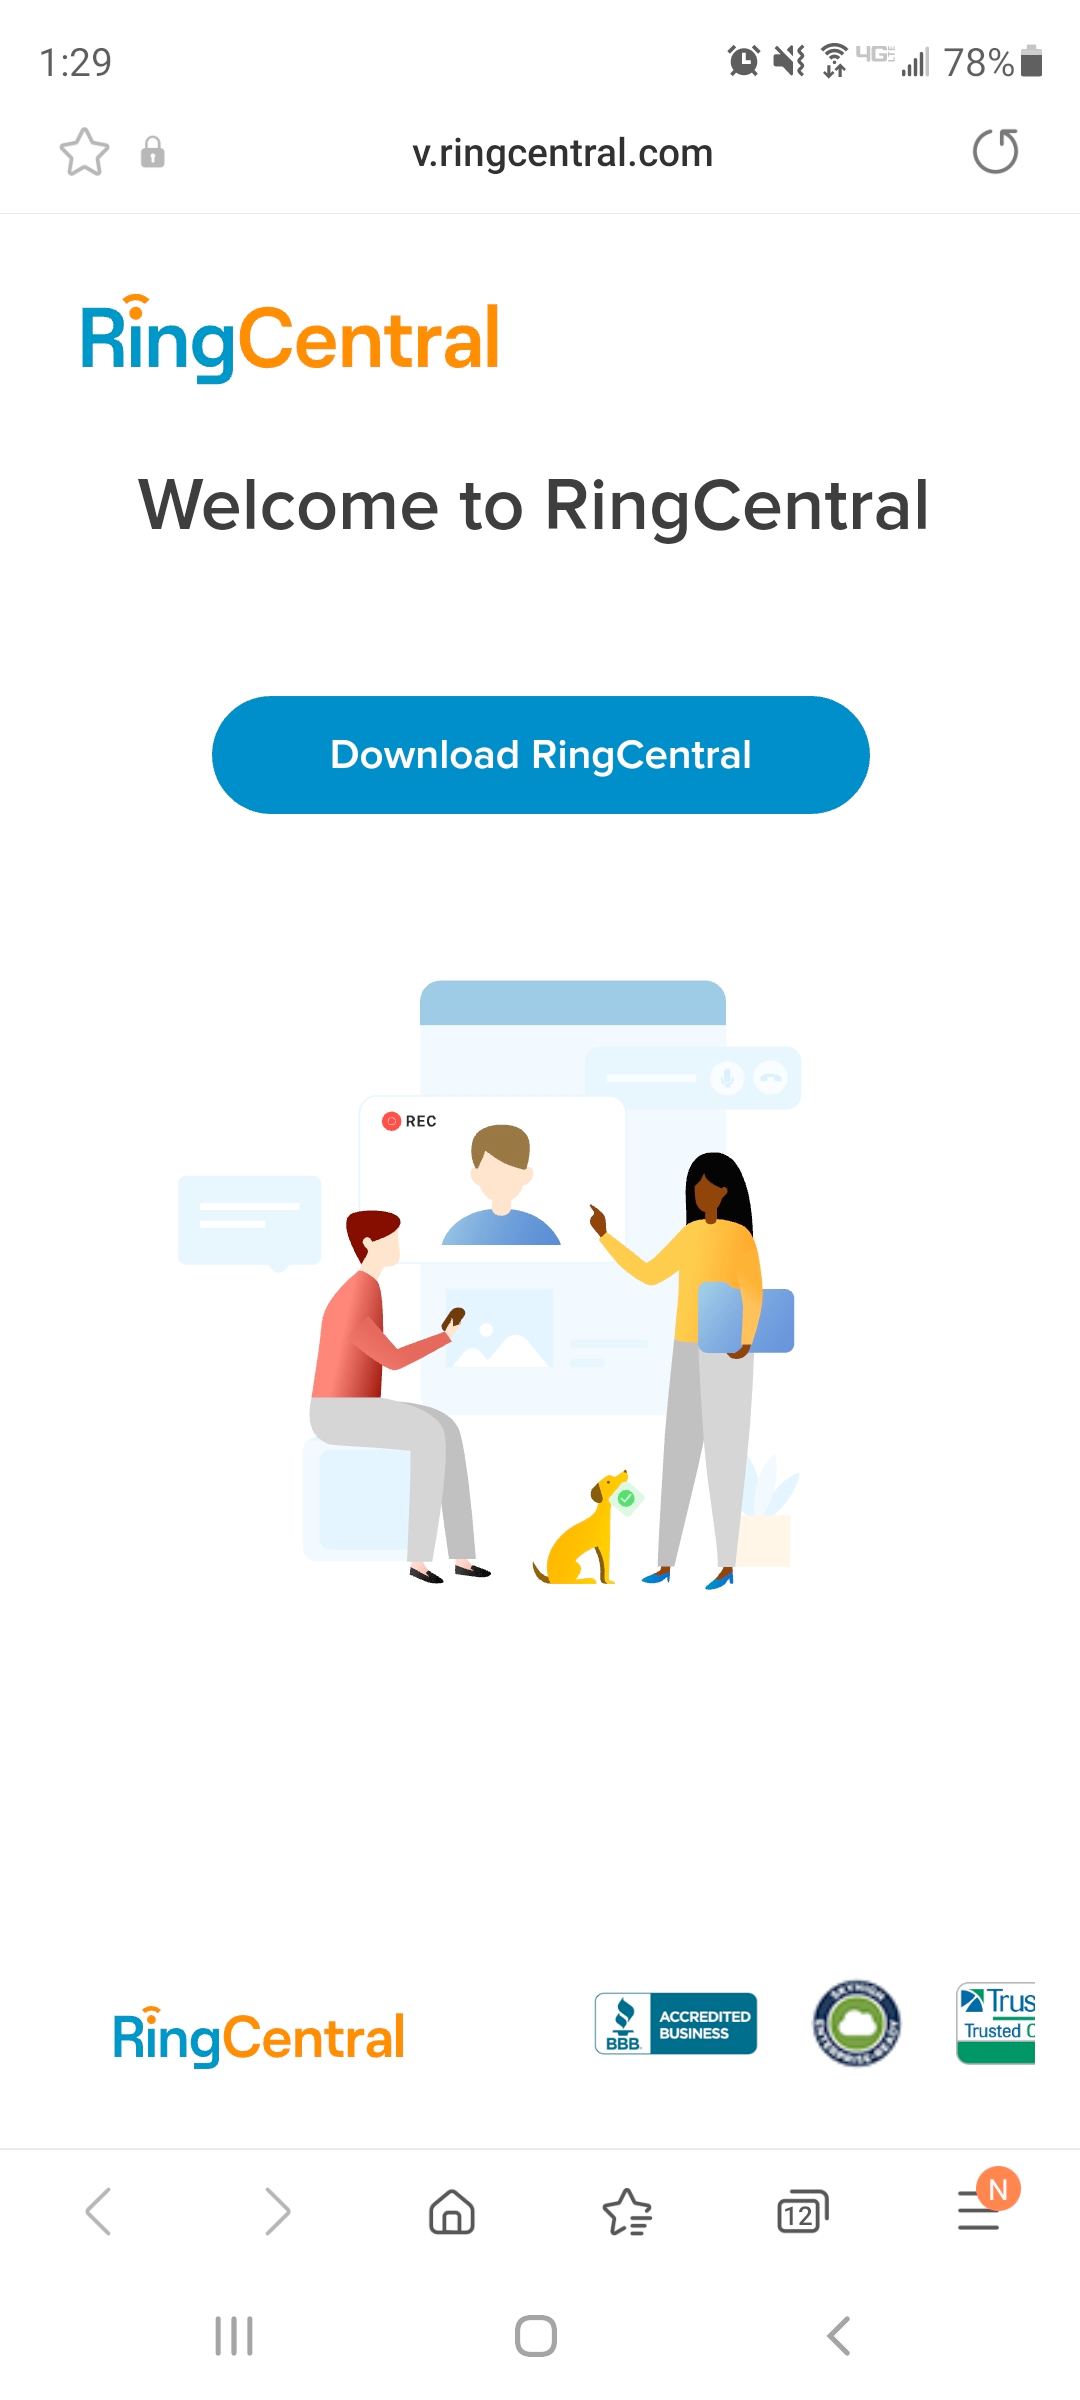
- If you have not already installed the RingCentral app, click the
- Download RingCentral button and install the app
-
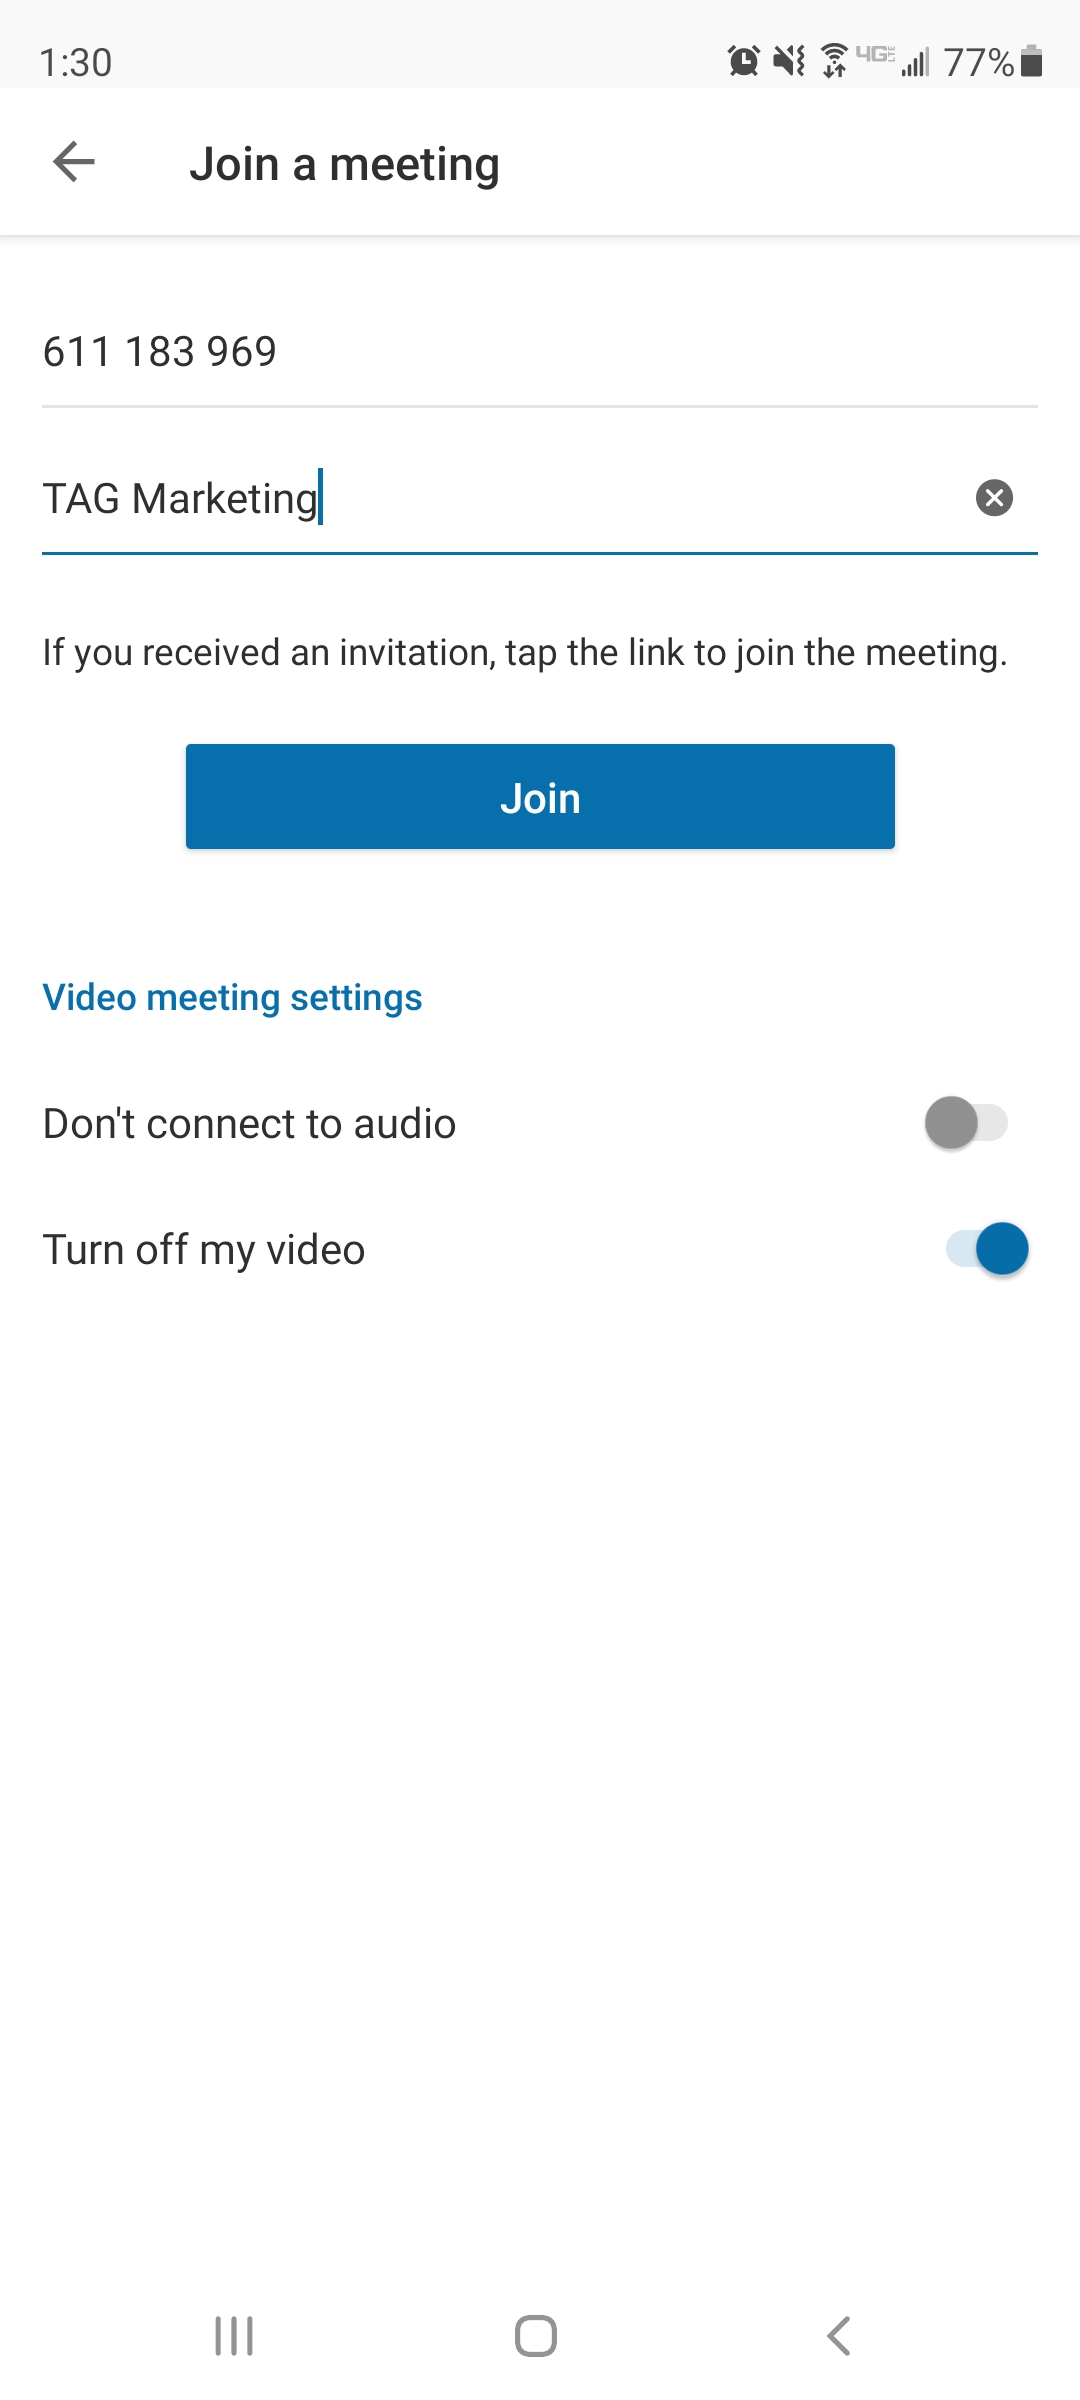
Fill in your name and click the “Join” button
- On the first use, allow permissions on the device
-
Make your audio selection
-
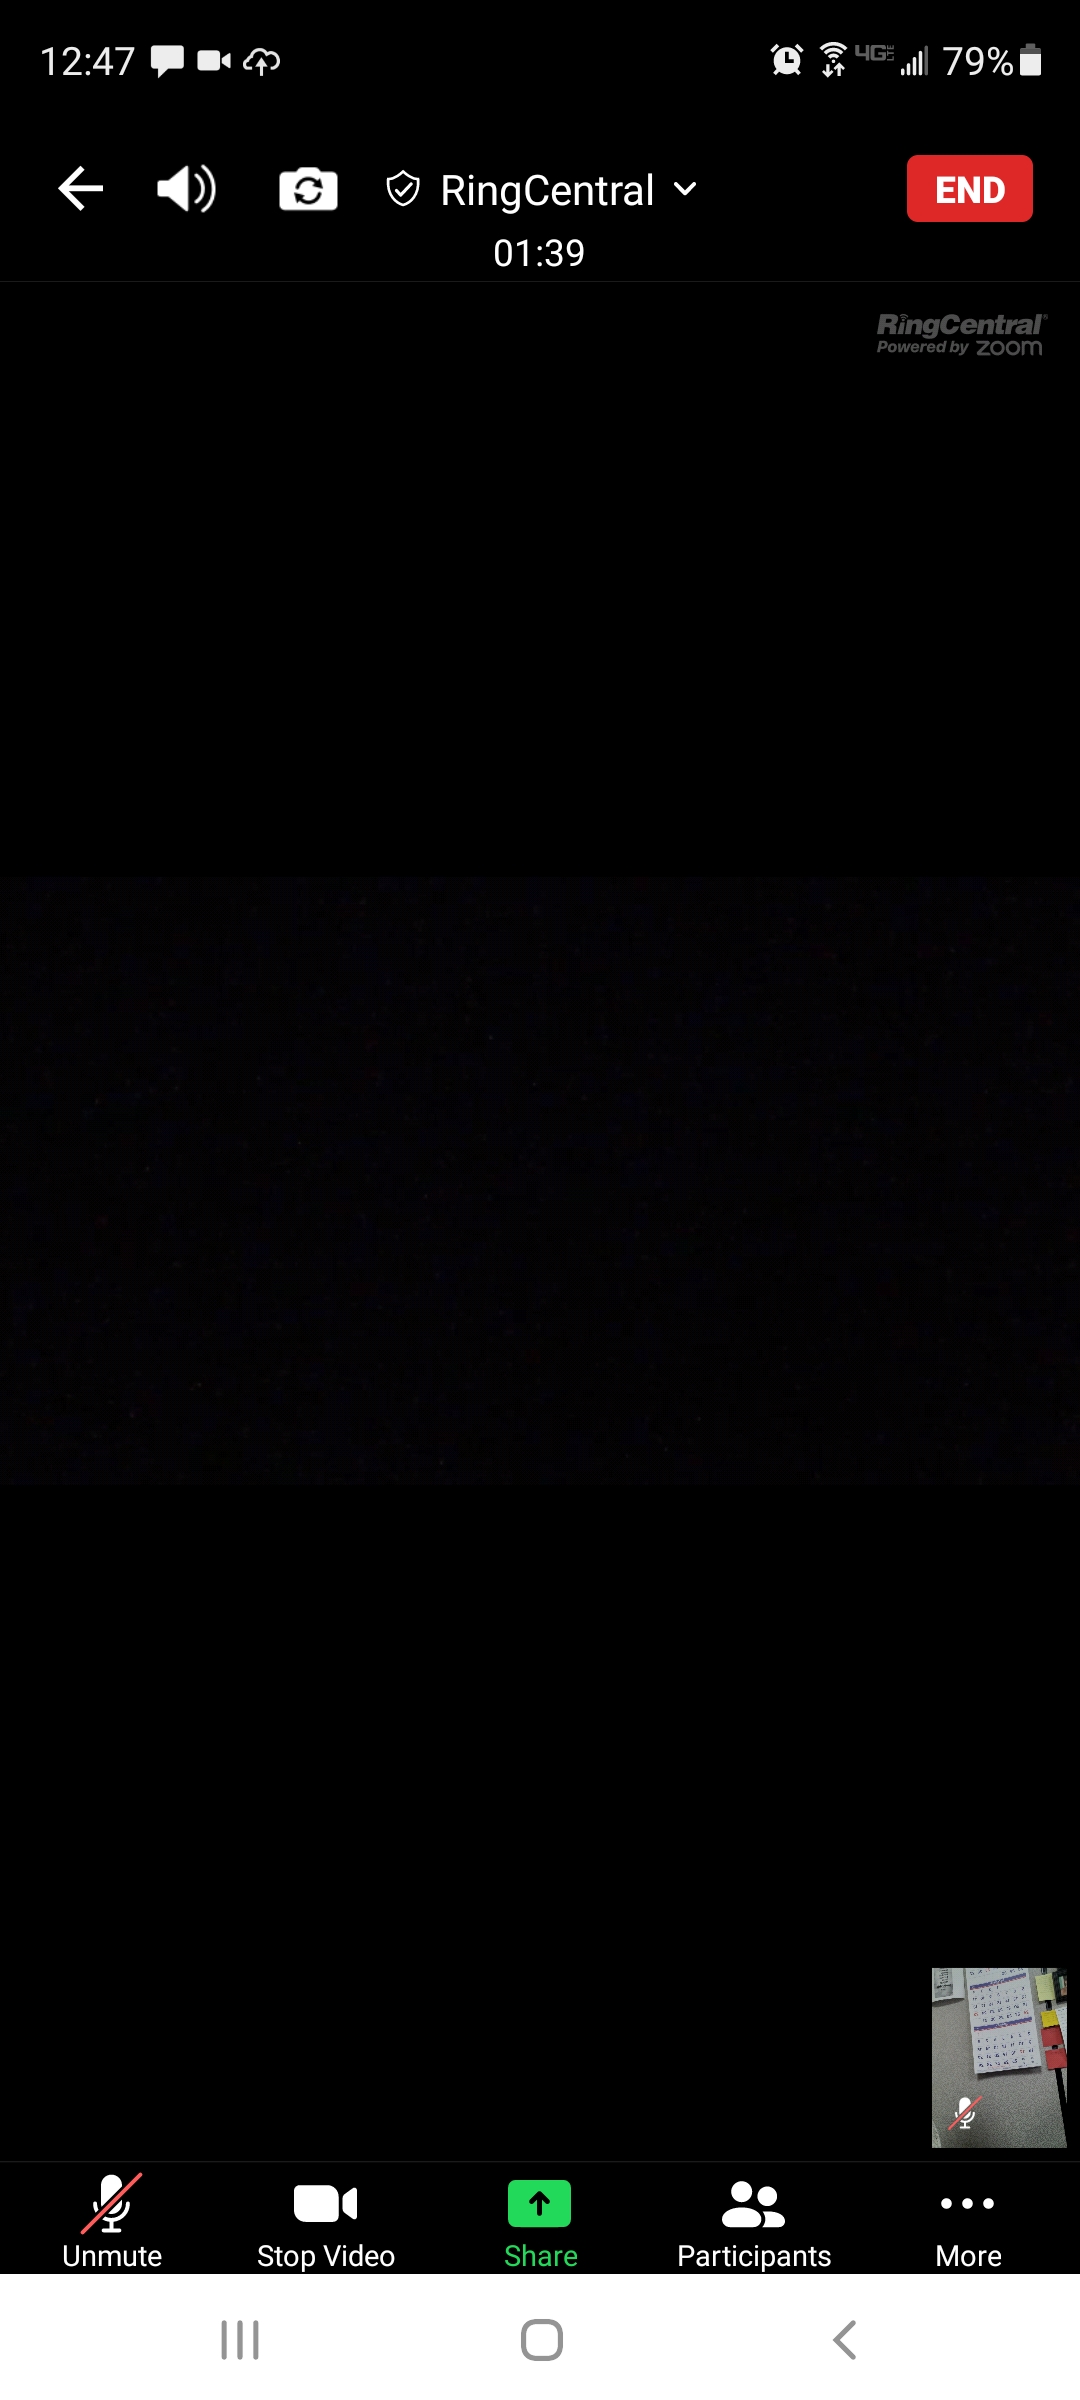
Audio and video can be muted/unmuted from the toolbar at the bottom of the screen

